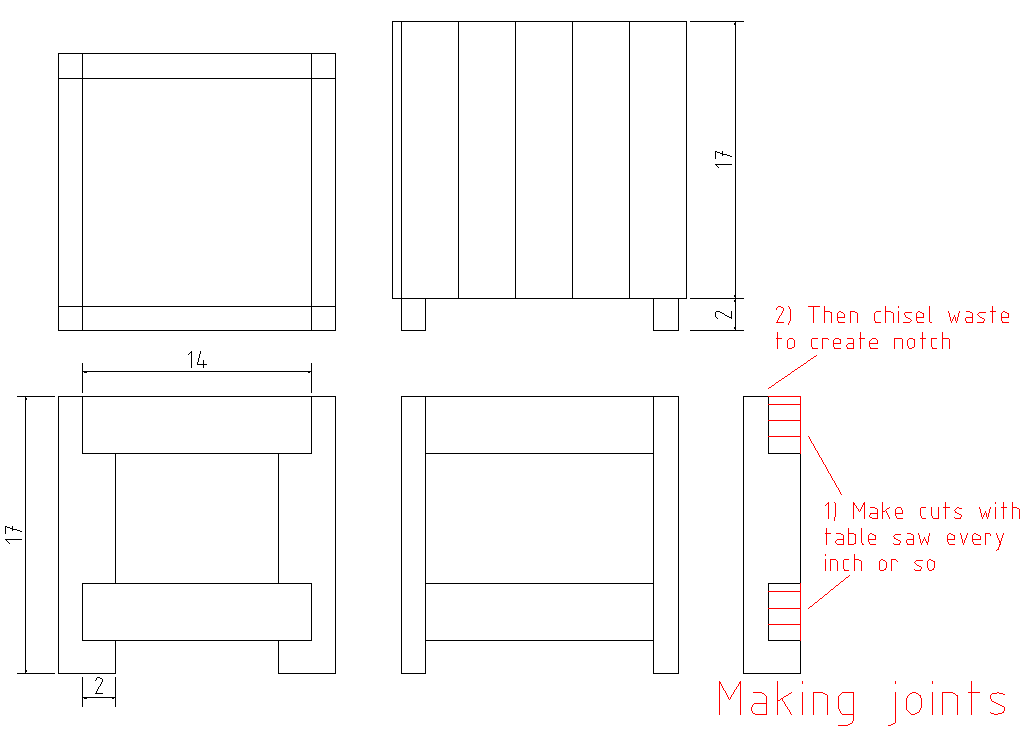
View Larger / Download DXF
- 8x 2x4x14
- 4x 2x4x17
- 20x 1x4x17
- 14x14x6 drain tub (for liner)
I used 2 2x4x96 pieces to cut out the framing pieces. I used my table saw since I don't have a miter saw yet, but a miter saw would probably make things a lot easier. I had to use a ladder as support for the long end of the wood as I made the cuts, which would be un-necessary with a miter saw.
To make the legs you need to chisel out the joints. I make the shorter side of the cuts in to the wood by setting the depth on my table saw and running the pieces through at about 1" spacing, then chisel out the waste. Then you can use a rasp to make the back of the joint flush, it doesn't matter if they look nice because they will be covered by the slats later.
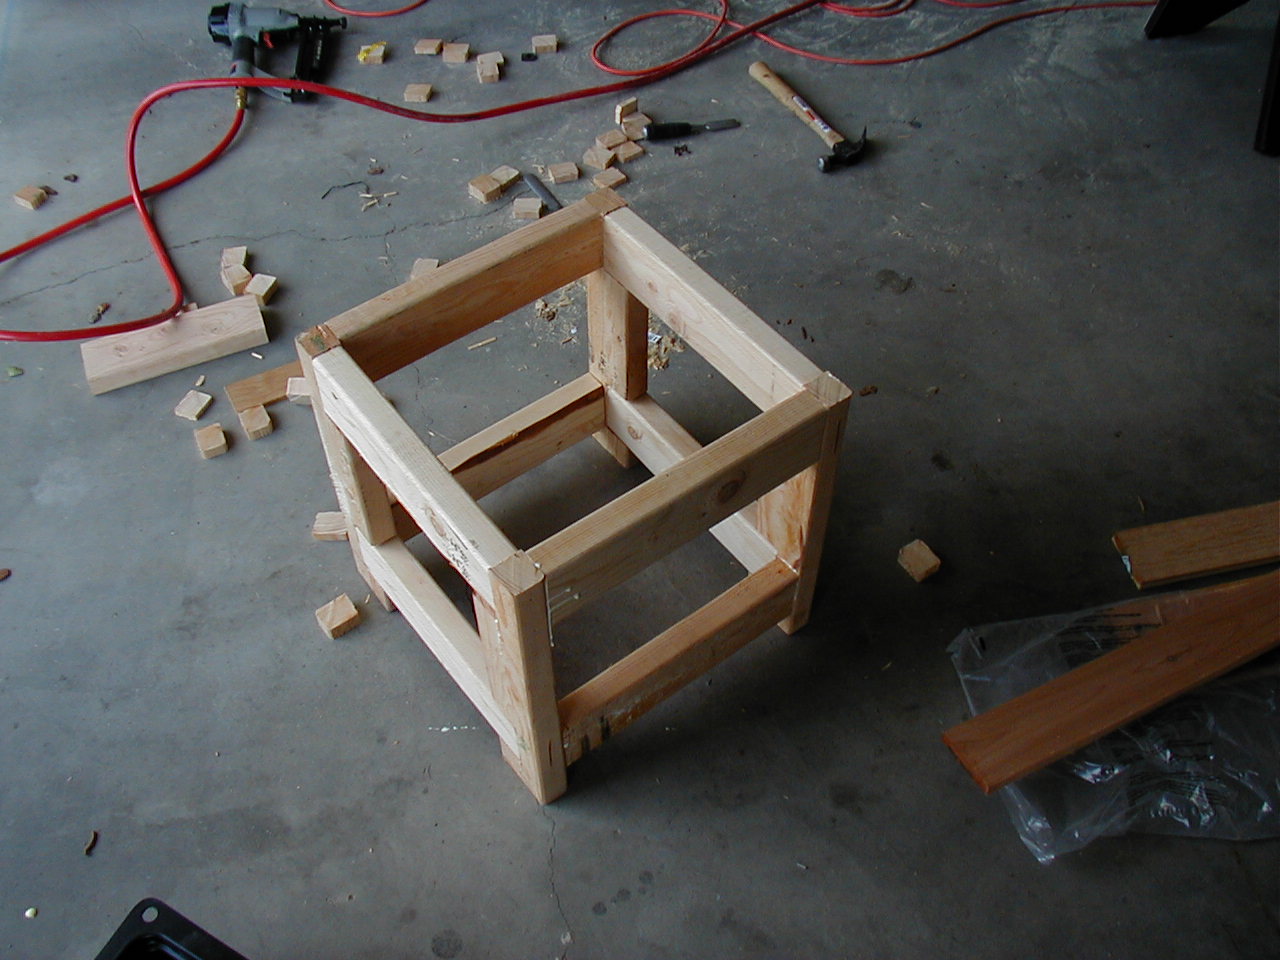
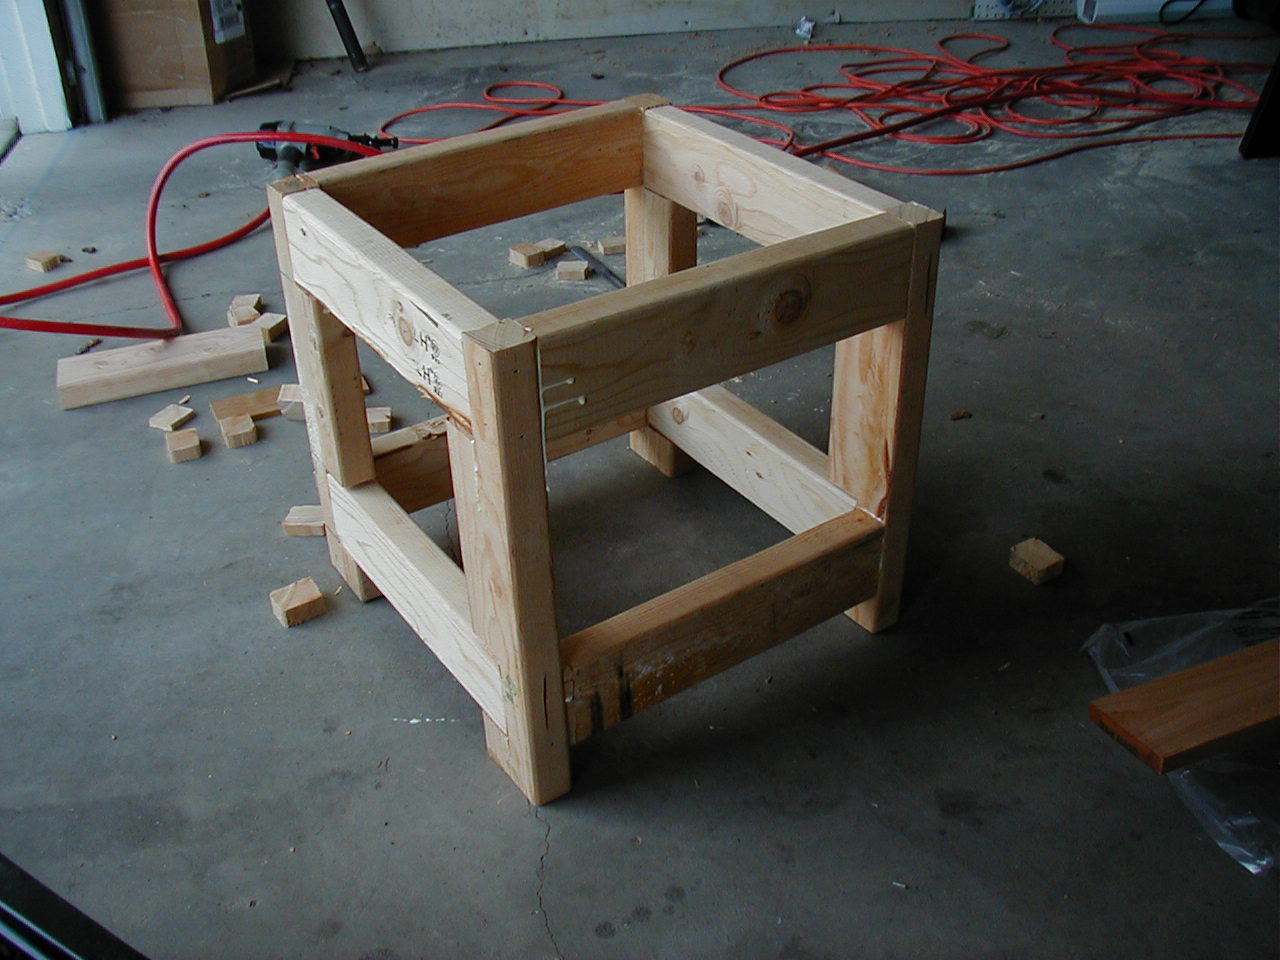
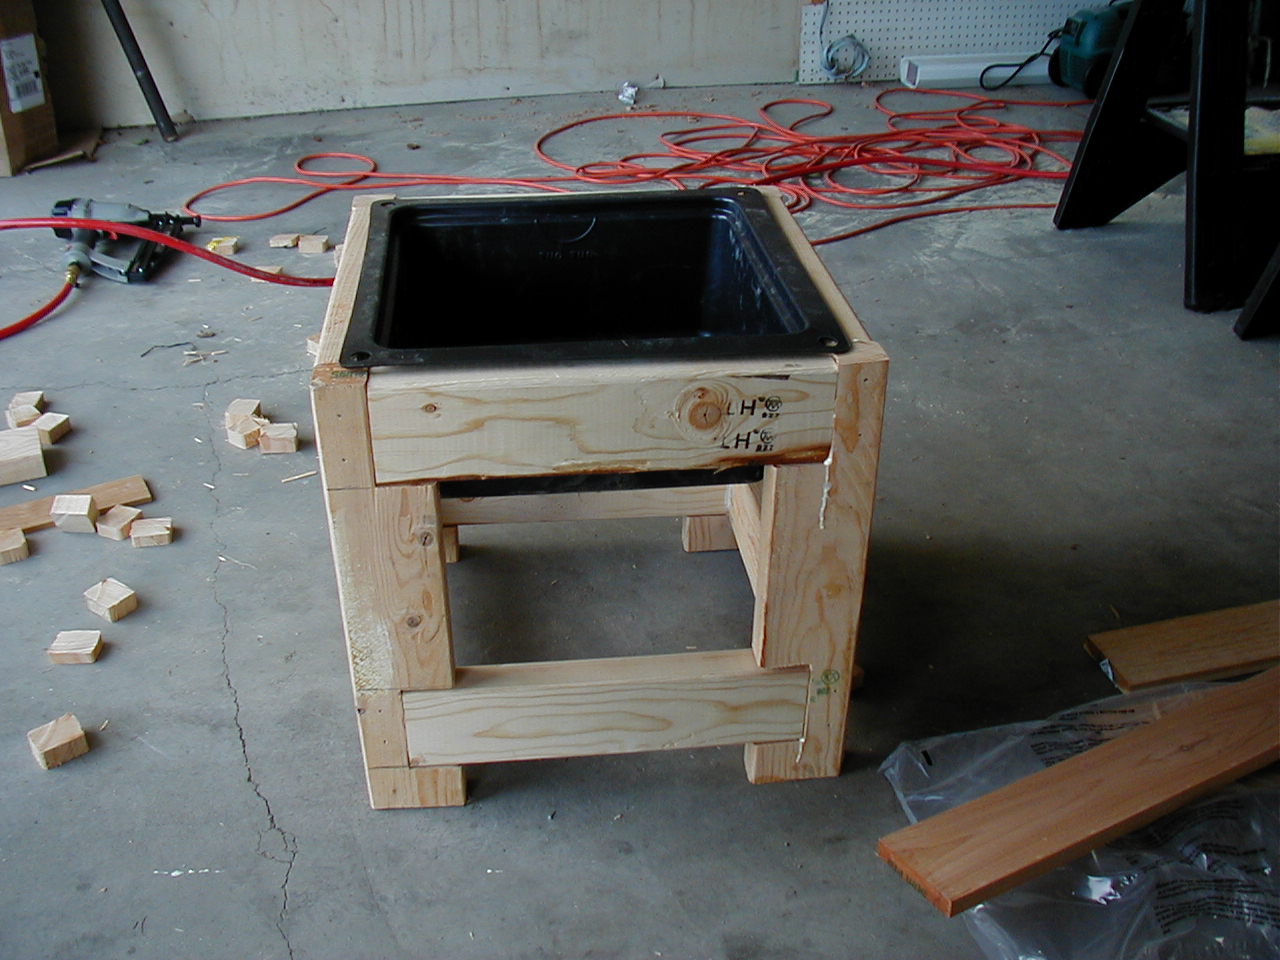
The framing pieces are glued together. Instead of clamping and waiting 24 hours, I'm pretty impatient so I used my finishing nailer to nail the joints together after gluing them. The nails hold the joint together enough for the glue to set and also to nail on the outside slats.
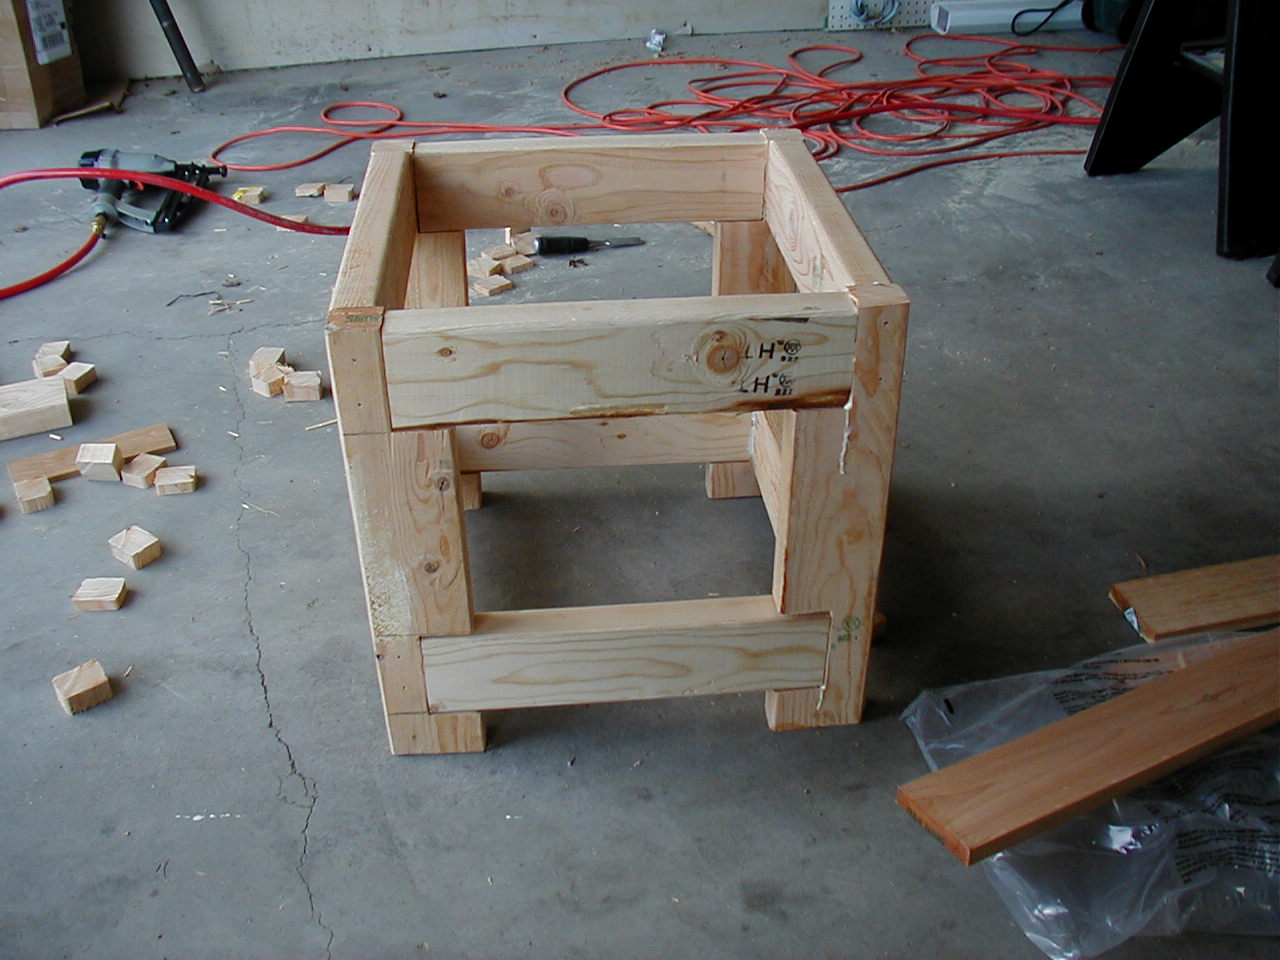
Once the frame is complete, the drain tub should fit inside with the lip of the tub resting on the frame. I couldn't find any real planter liners at any of the local big box stores, but they did have these little tubs for about $3. They were located in the plumbing section near the black pvc pipe. I drilled 1/4" drainage holes in the bottom to make sure excess water could escape.
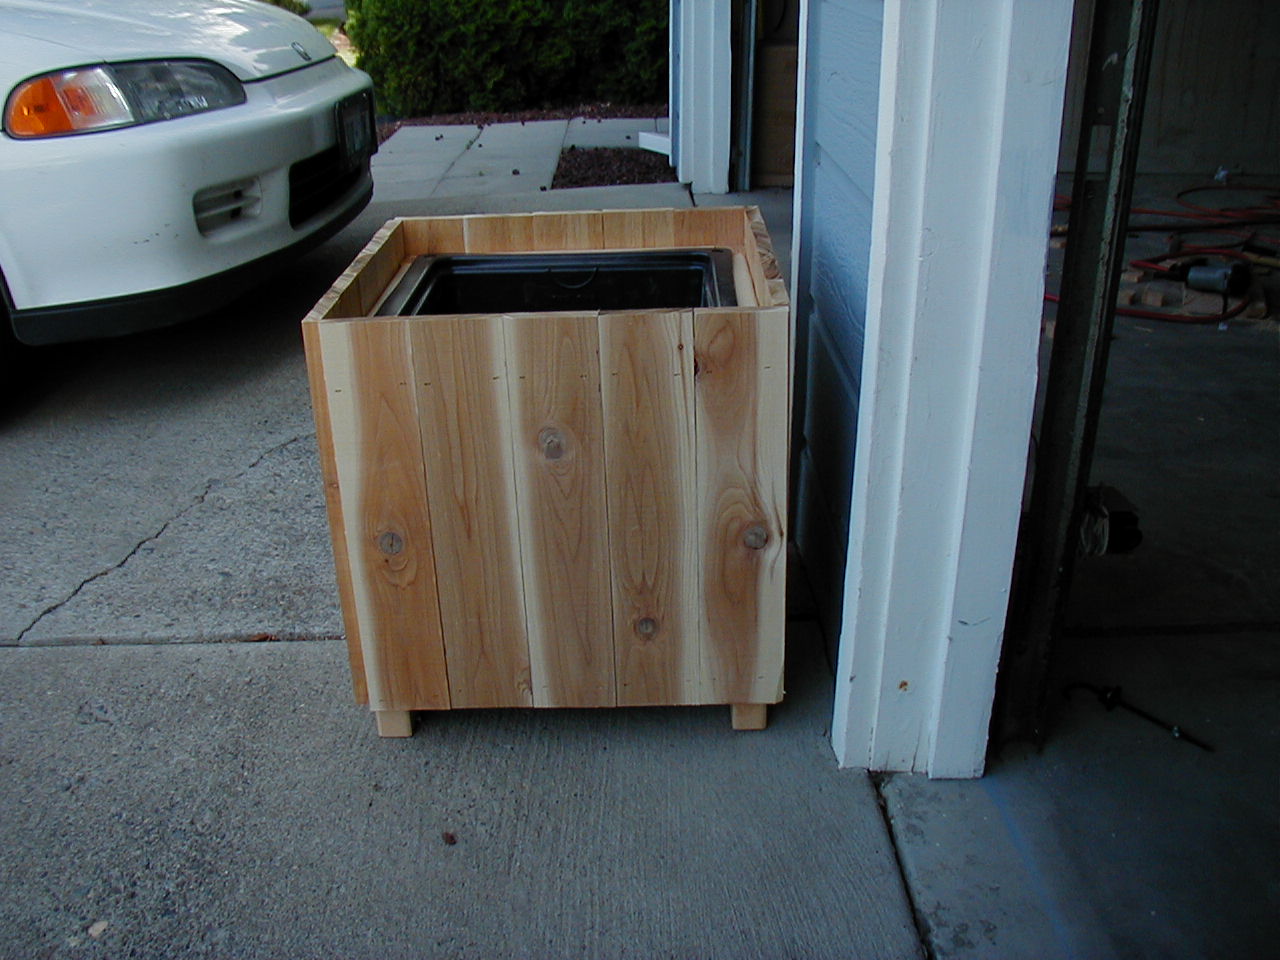
To create the slats, I just used 1x4x96 cedar (approx $3) or some other cheap wood that was cut in to 17" long pieces. It took 4 boards to make all the slats needed. The boards had been planed so they were actually 3/4" thick and 3 1/2" wide. The width fit well with the length of the sides leaving only 1/2" overlap, so it was less than the thickness of the board. This meant I didn't need to cut end pieces, just ripping the wood at 17" lengths would be sufficient. They are the same length as the legs in the frame so that if you offset them from the bottom to show the feet a little, you also get a lip at the top to hide the planter liner. Since my table saws fence only goes to 12", I had to make a quick jig for this, since measuring and cutting 20 boards would not have been fun. Plus doing them all individually would risk some being cut differently than others because I suck at cutting, which certainly would make the overall appearance of the planter worse. In the future I hope to have a sled made that will allow me to rapidly cut pieces up to 2' long from a template.
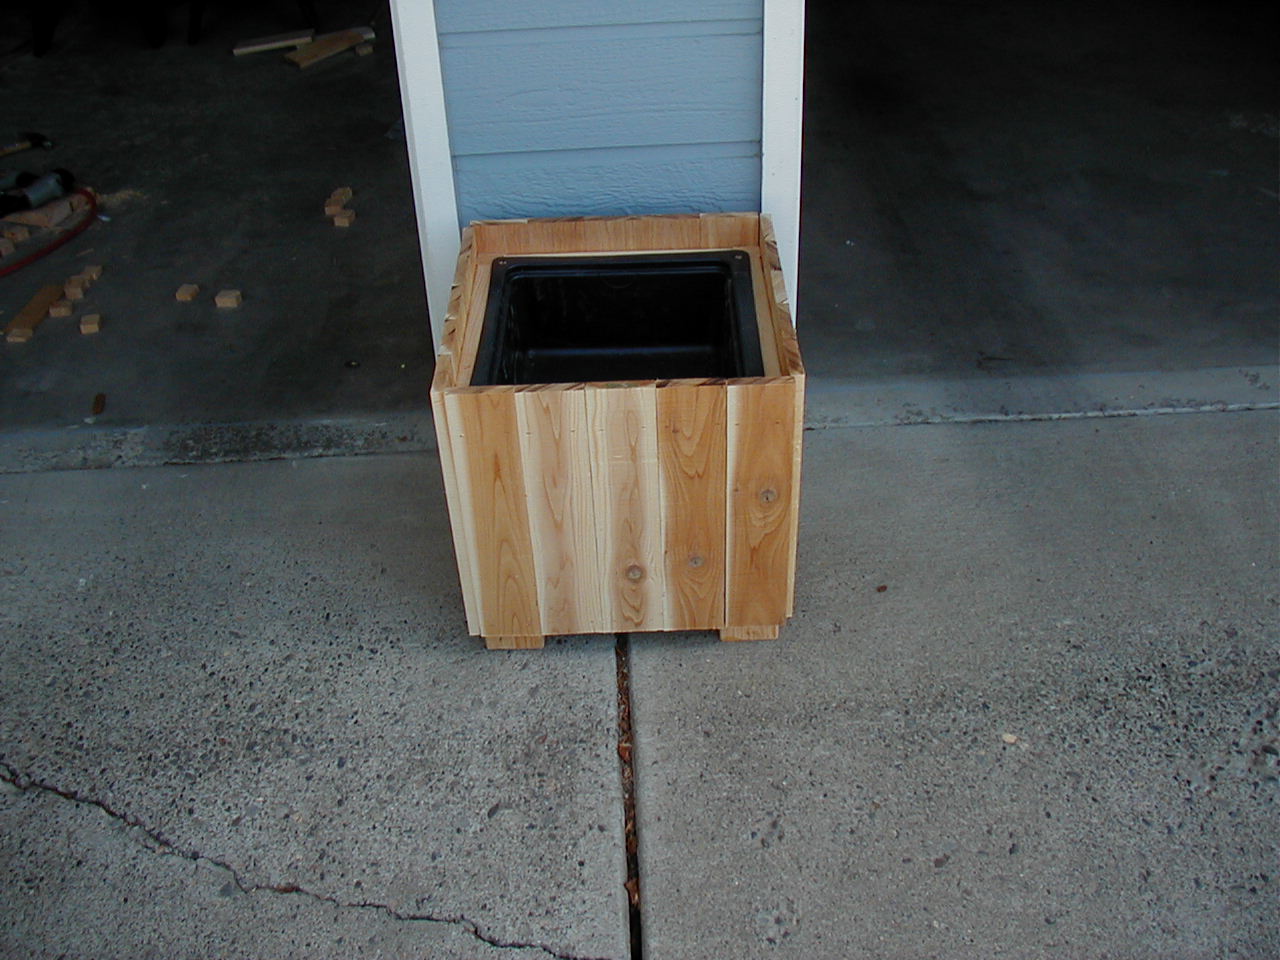
Now that the frame is complete and the tub fits inside, all that's left is to attach the slats. The slats should hang over 1/2" so you get complete coverage of the corners. To line up the first slat, I laid the last slat in place with it's overhang, then pushed my first slat against it so that it's snug, then using a narrow crown staple gun I stapled the slat in place. Each slat is then pushed square against the last one, and stapled in place until the side is covered. Then to start the next side, I just push the first slat on the next side flush against the overhang of the last slat and start again. When you get all the way around, the last slat stapled in place should cover 1/2" of the first slat you put in place and if you lined it up well enough there shouldn't be a gap.
This plan worked well the first time and I haven't seen any need to change any design implementations. All of the end-grain of the 2x4's are generally hidden from view so you don't have to worry about finishing them off. The layout should be flexible enough to accommodate other sizes of planter inserts, just cut the 14" pieces to whatever lengths you need and assemble them in the same way, I set up the legs so that the side pieces would match the length of the insert for easy measuring.