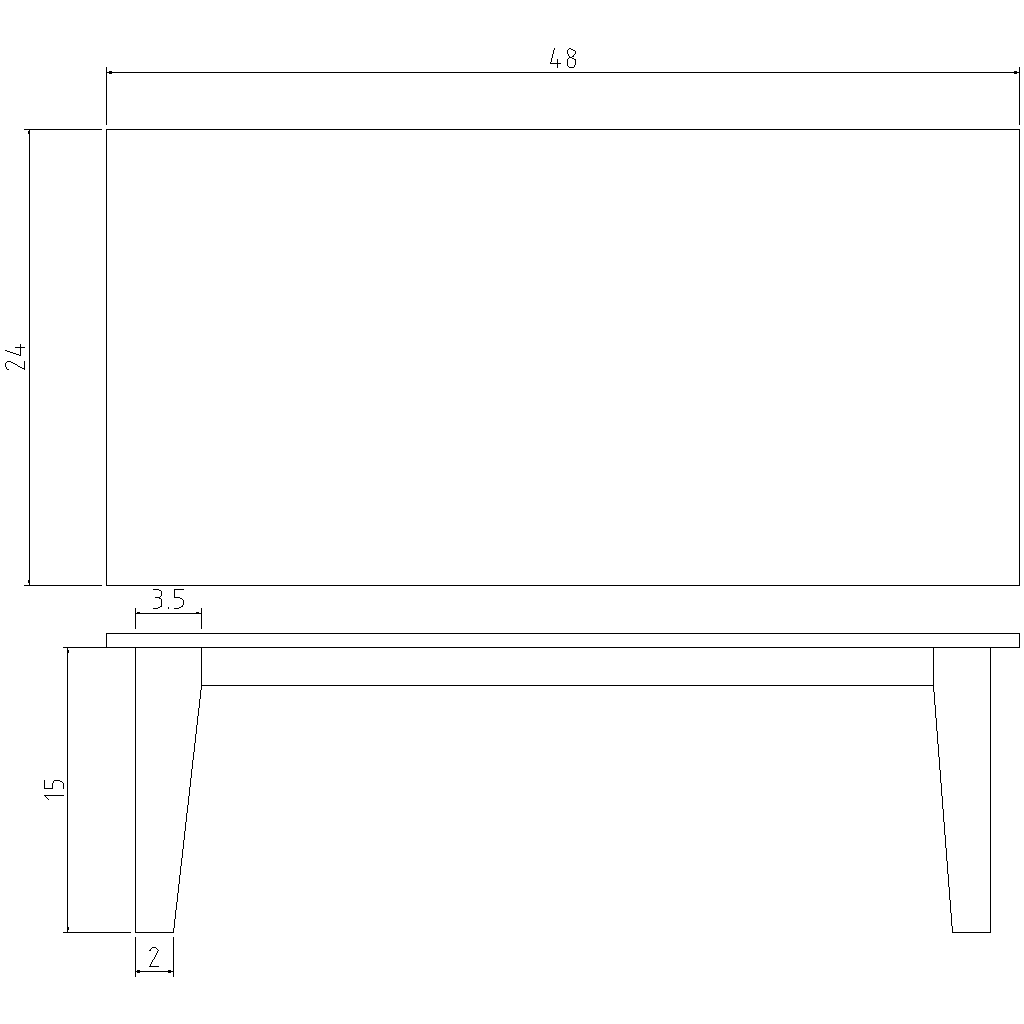
View Larger / Download DXF
- 2x 3/4x11 1/2x48
- 2x 3/4x2x?
- 2x 3/4x2x?
- 8x 3/4x?x15
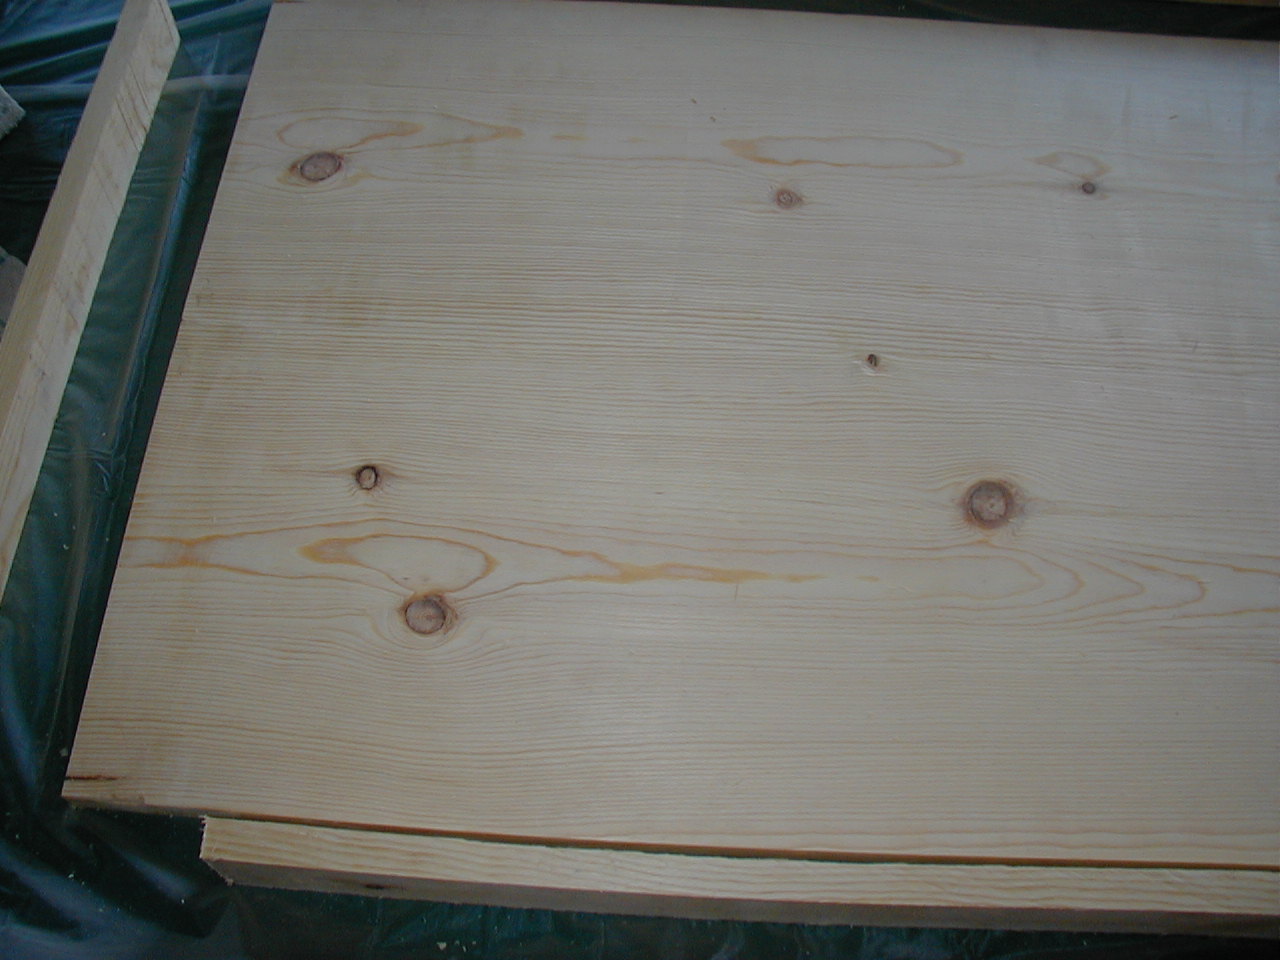
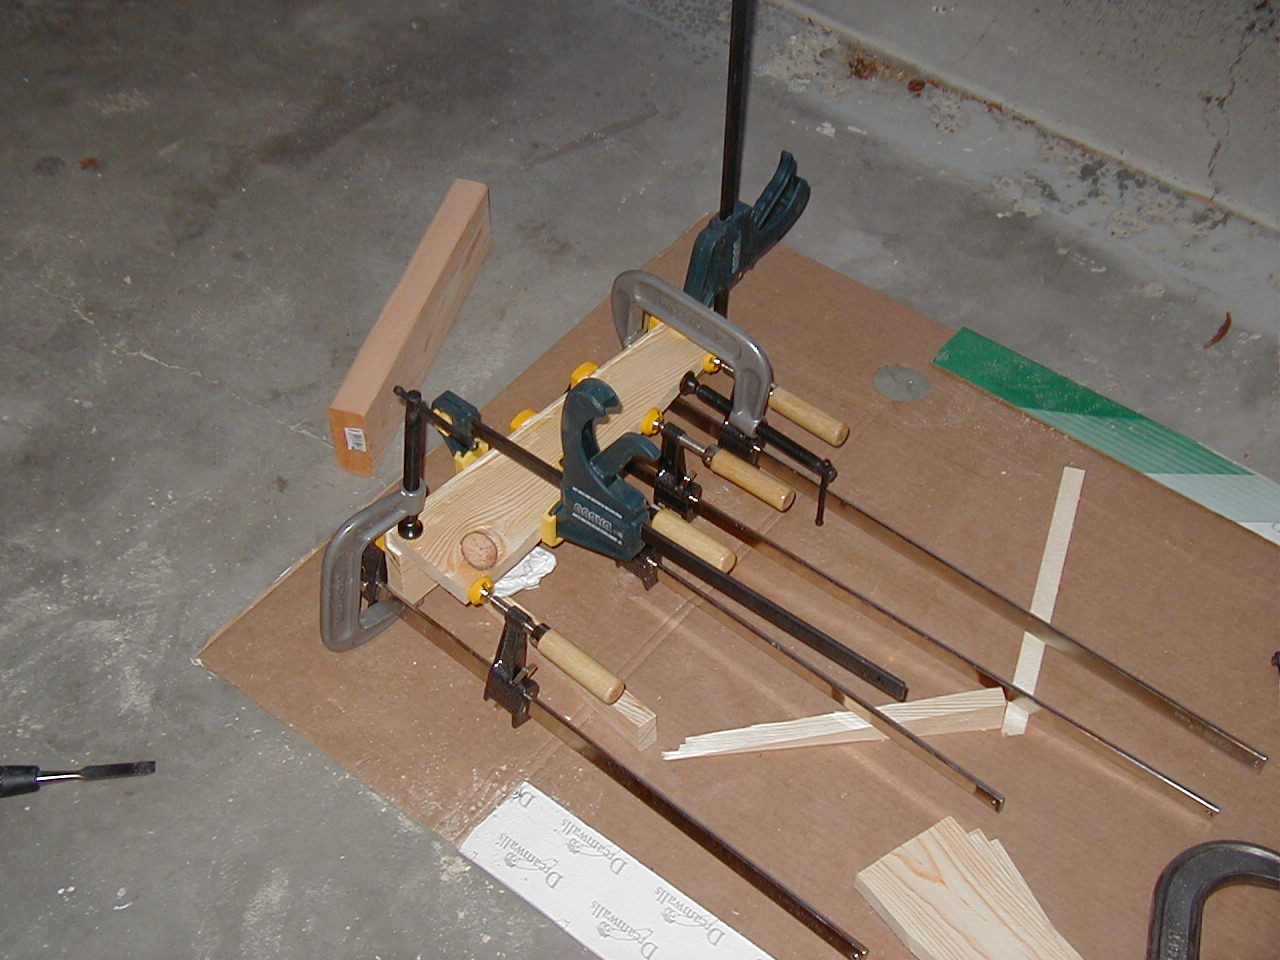
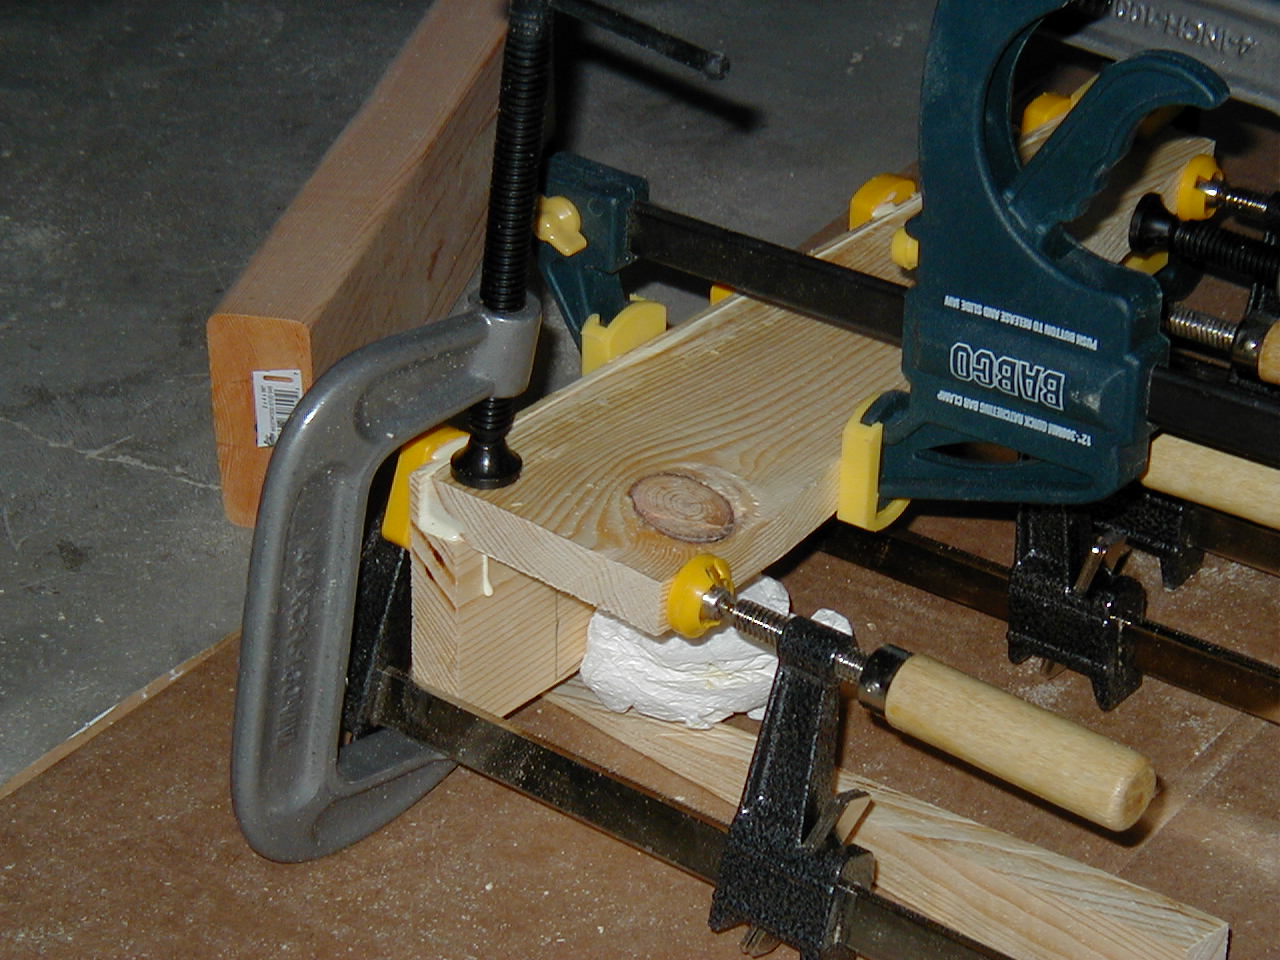
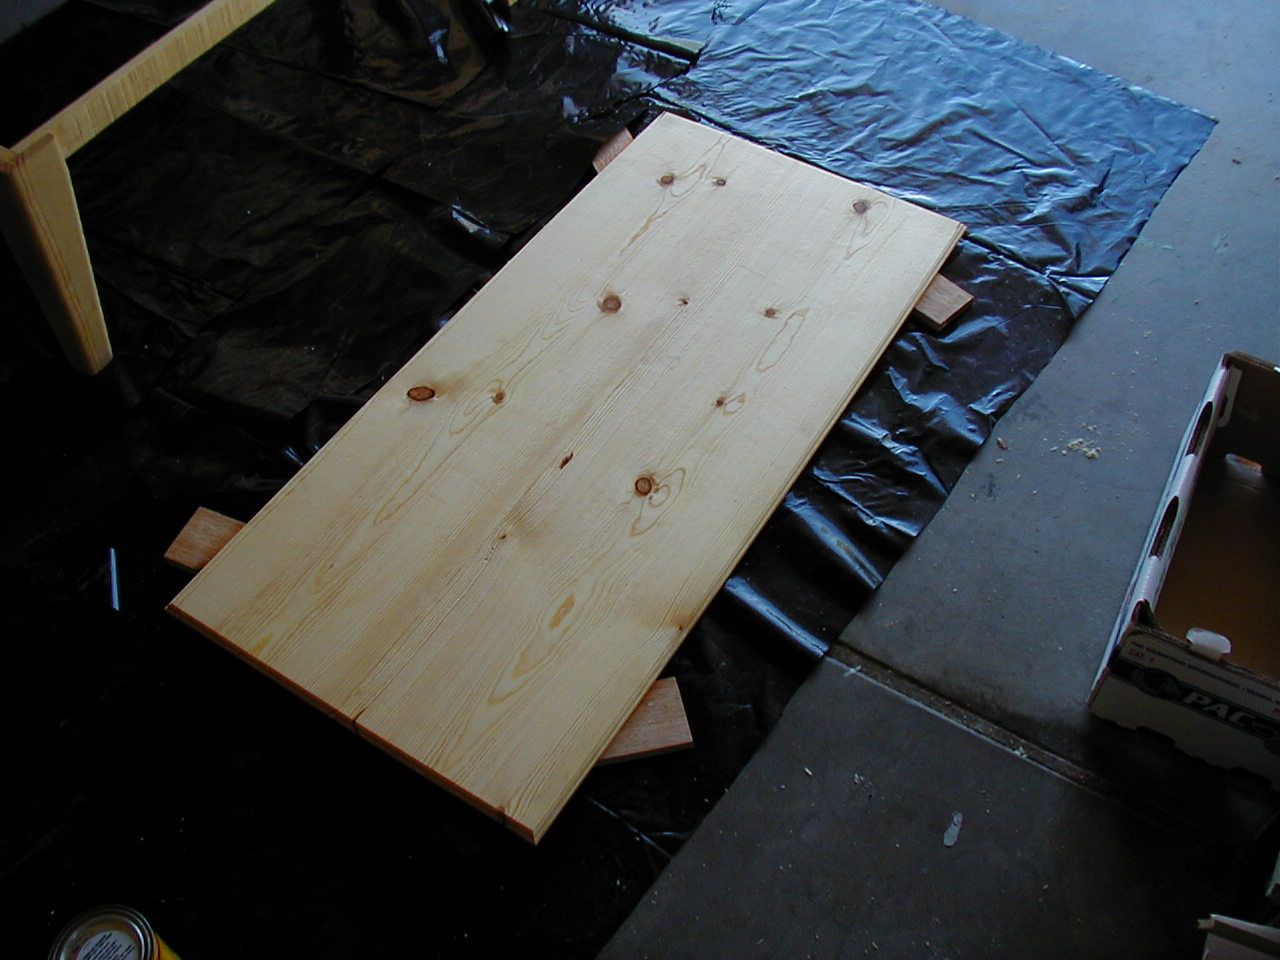
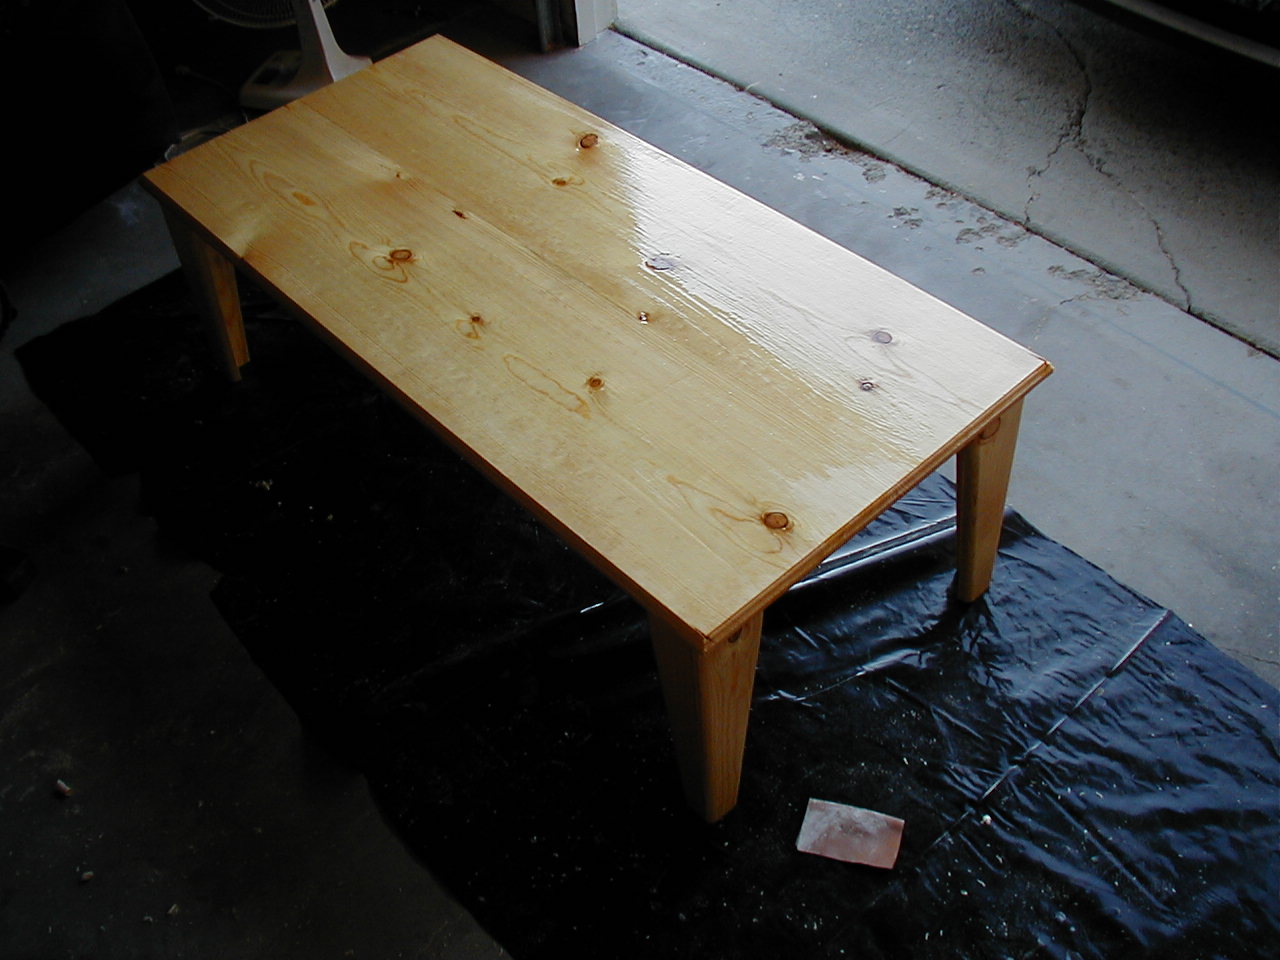
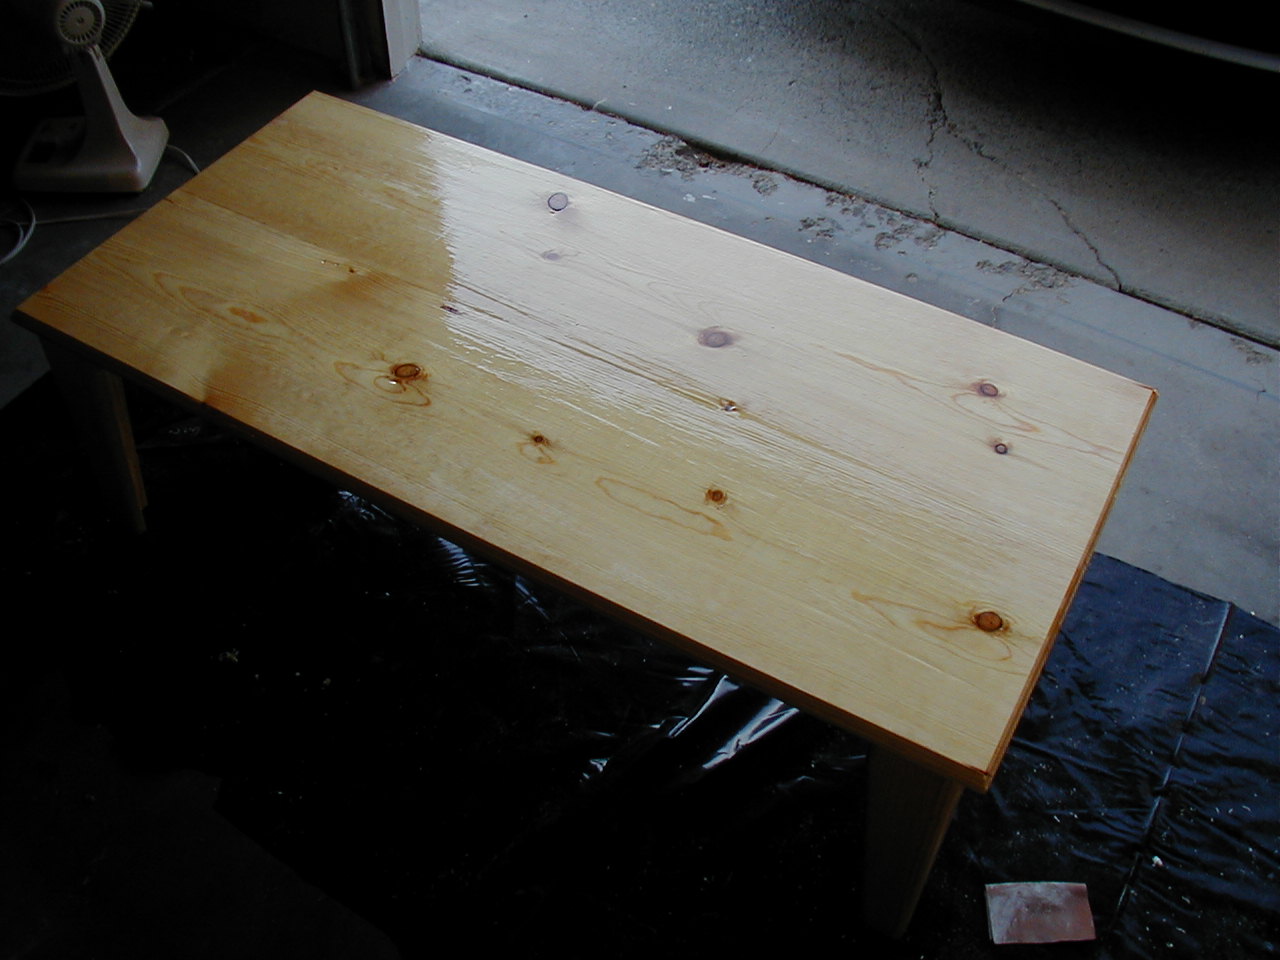
First I glued up 2 of the 4 foot boards to make the top. I had never glued anything up like this before so I clamped the best I could, but it turns out I need more clamps. The top looks ok, but near the middle you can see a bit of a seam, where I didn't have another wide enough clamp to pull the joint tight.
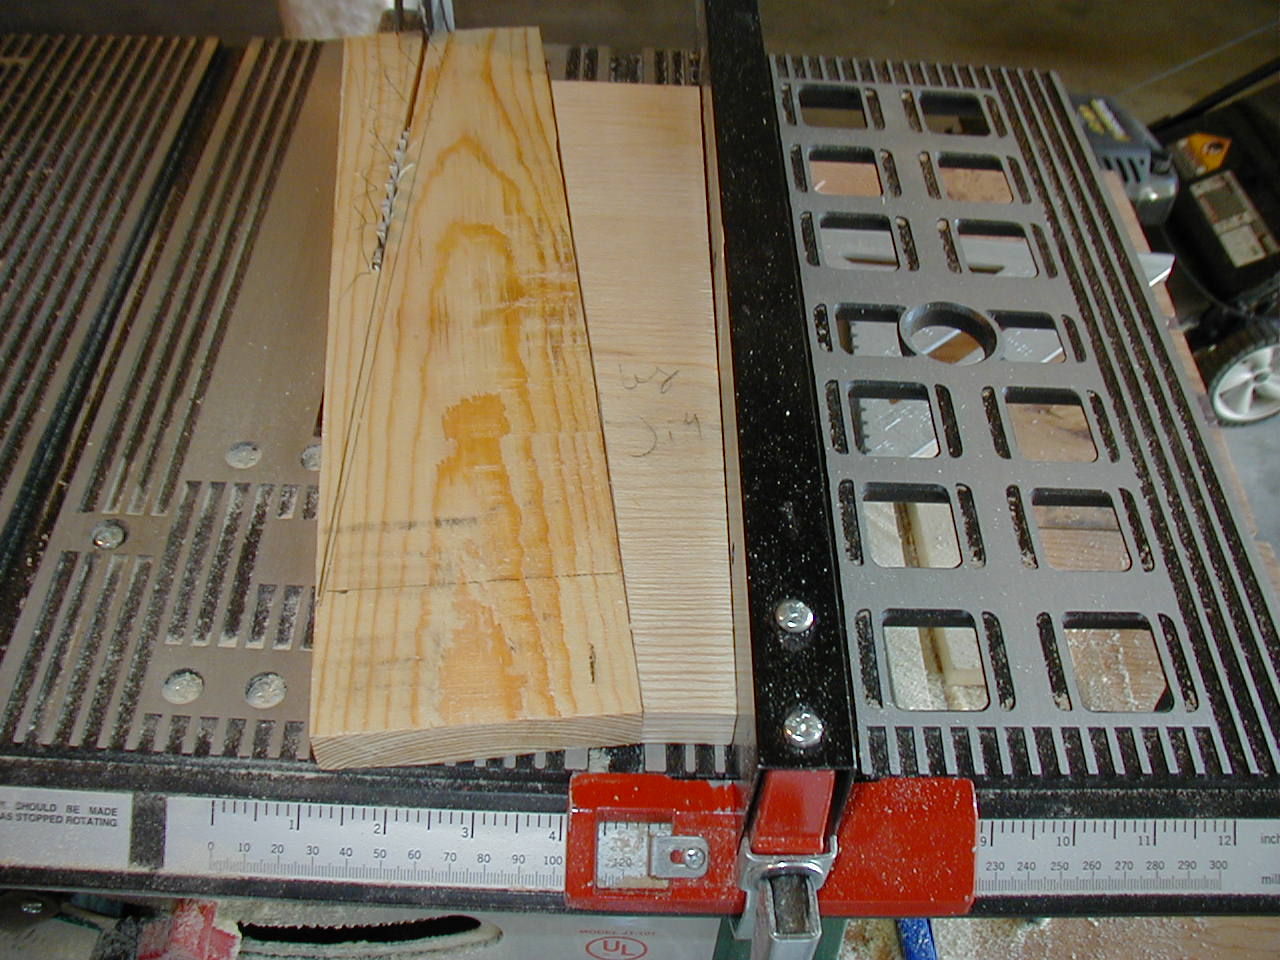
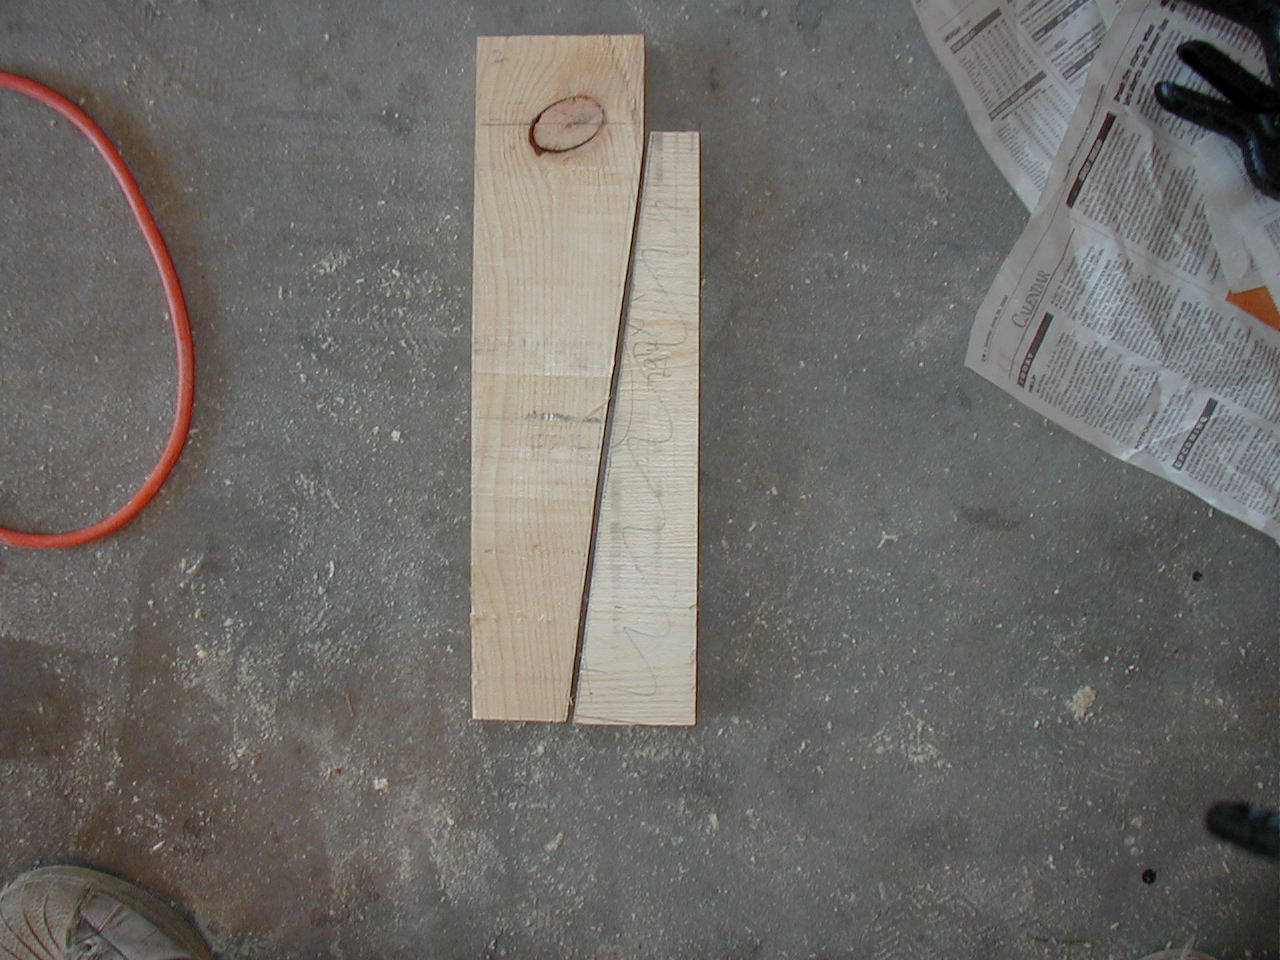
After that I ripped 3 2" wide strips, and cross cut one to the length I needed for the short sides of the table. I was surprised that I had cut better this time, since when I did the book case the rips were pretty bad. I didn't have to plane much at all though to get the rips straight this time, so maybe I'm getting a bit better. One can hope anyway.
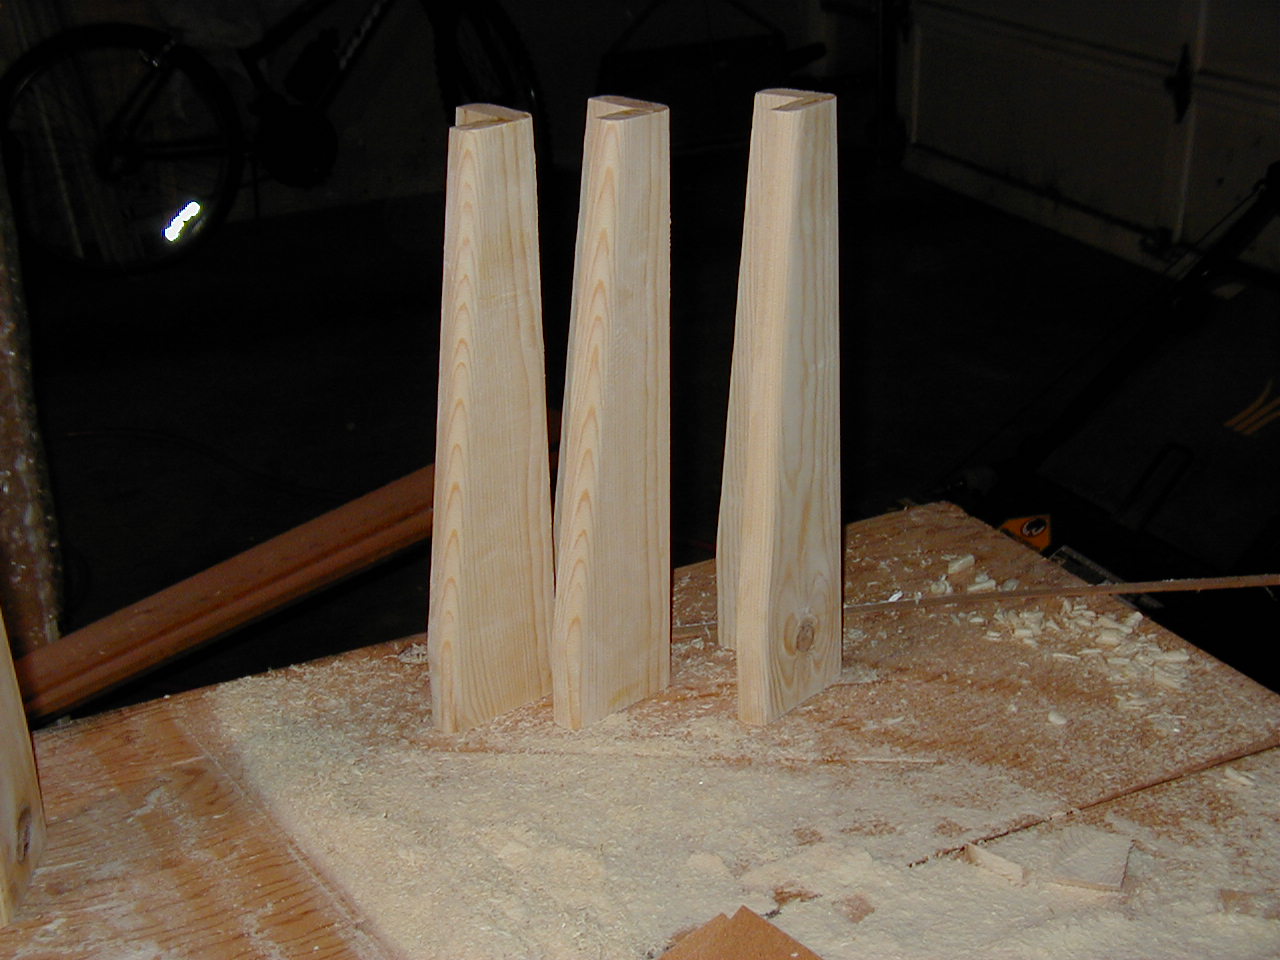
The width of the top of the legs was determined by dividing the width of a board in to 3, and subtracting 1/8th of an inch from that to compensate for the kerf. I was surprised that this worked out pretty well, I assumed I would be shaving a tiny amount off the last piece to get it the same width, but it turned out I didn't need to. Apparently I get lucky sometimes.
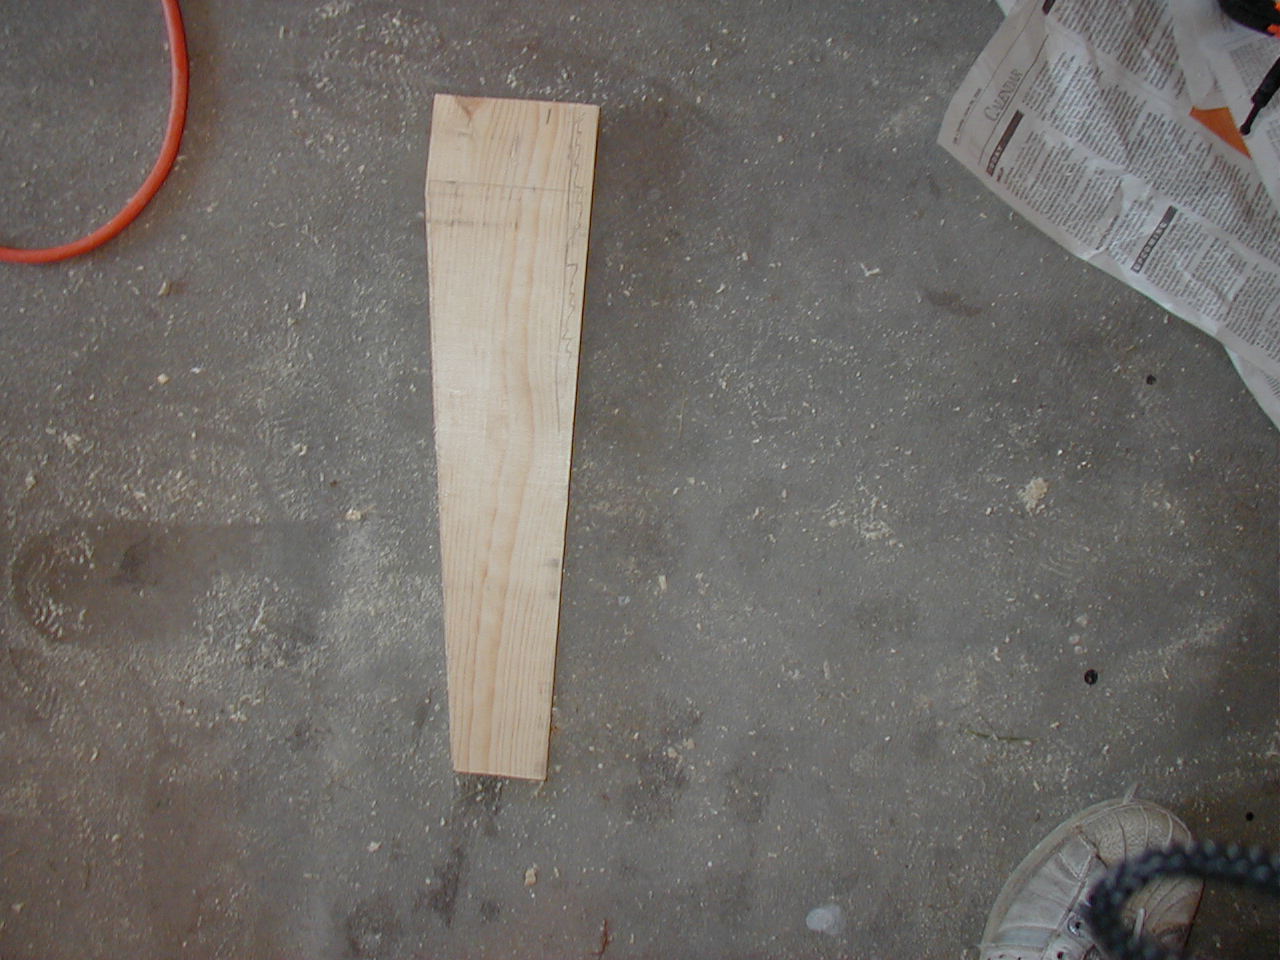
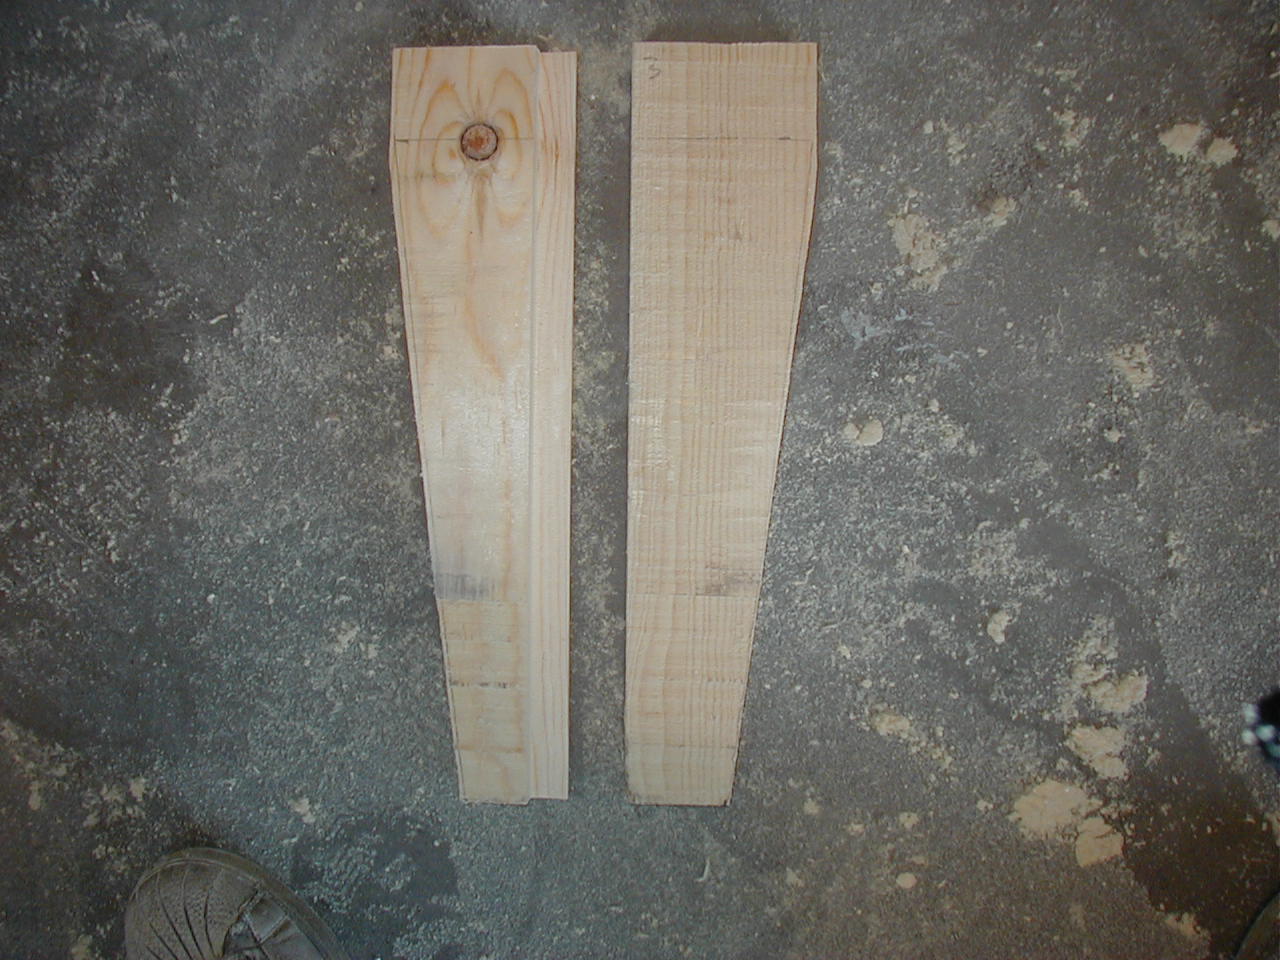
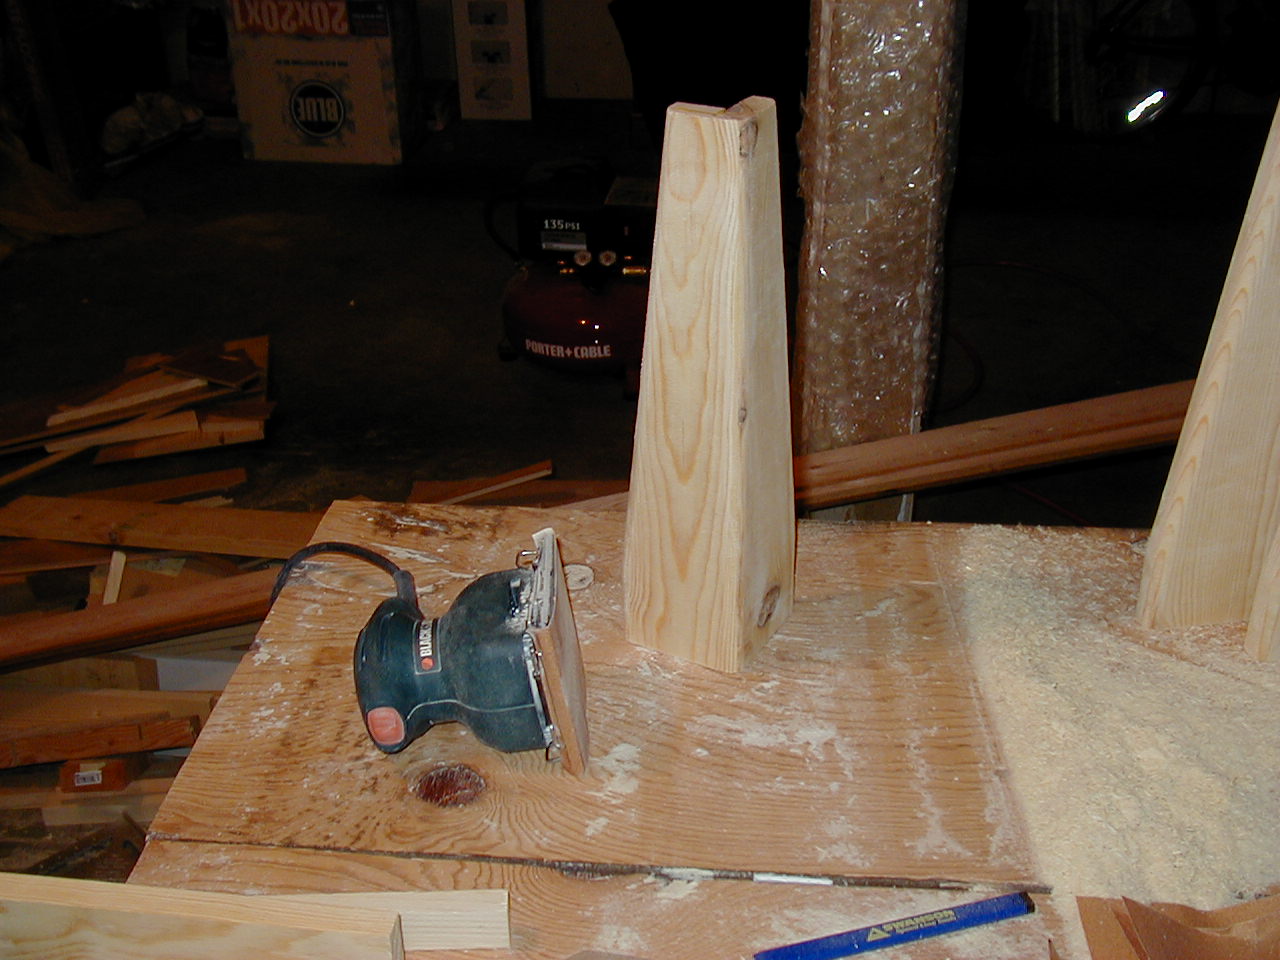
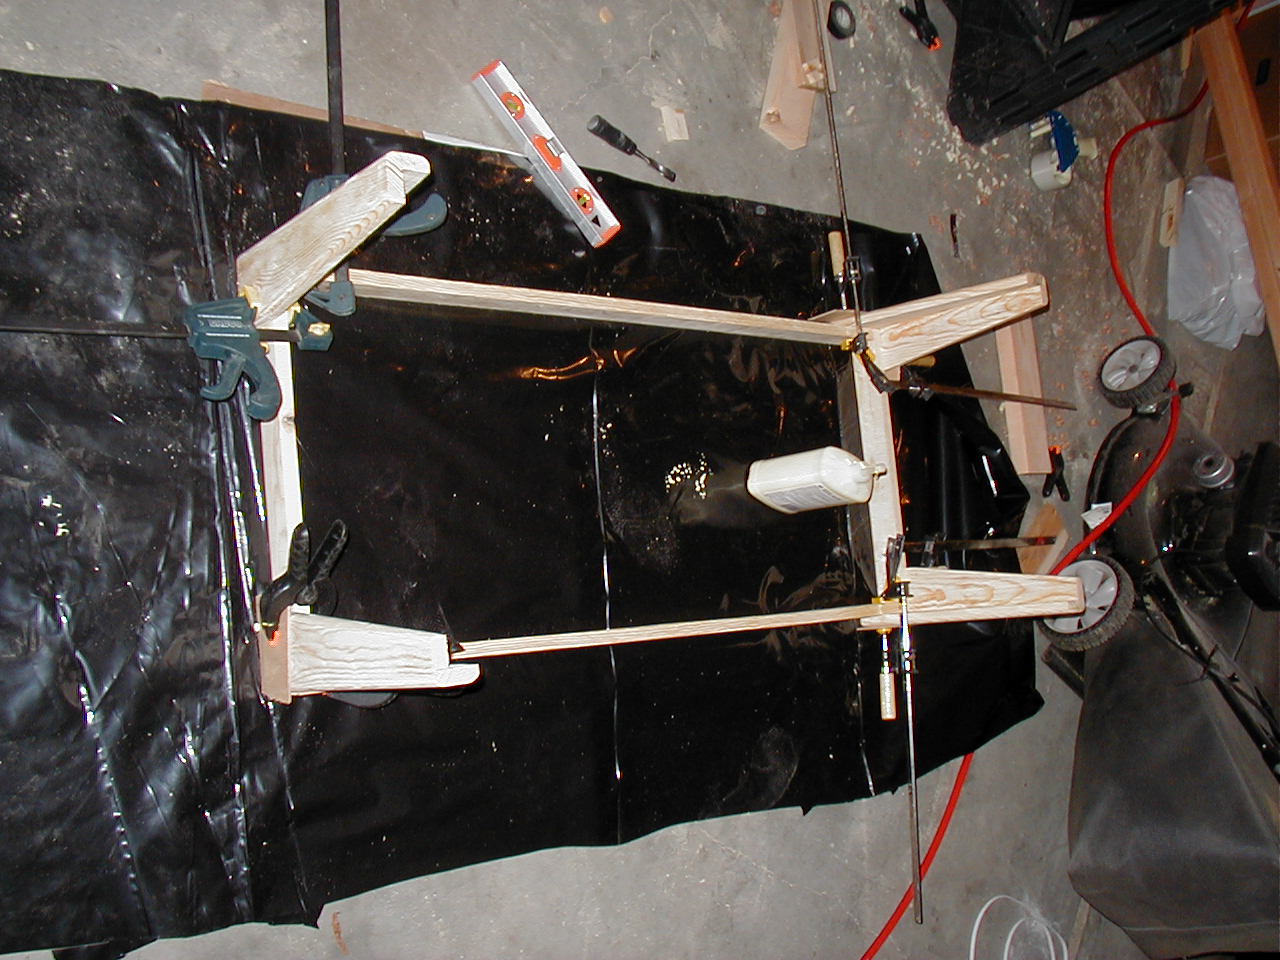
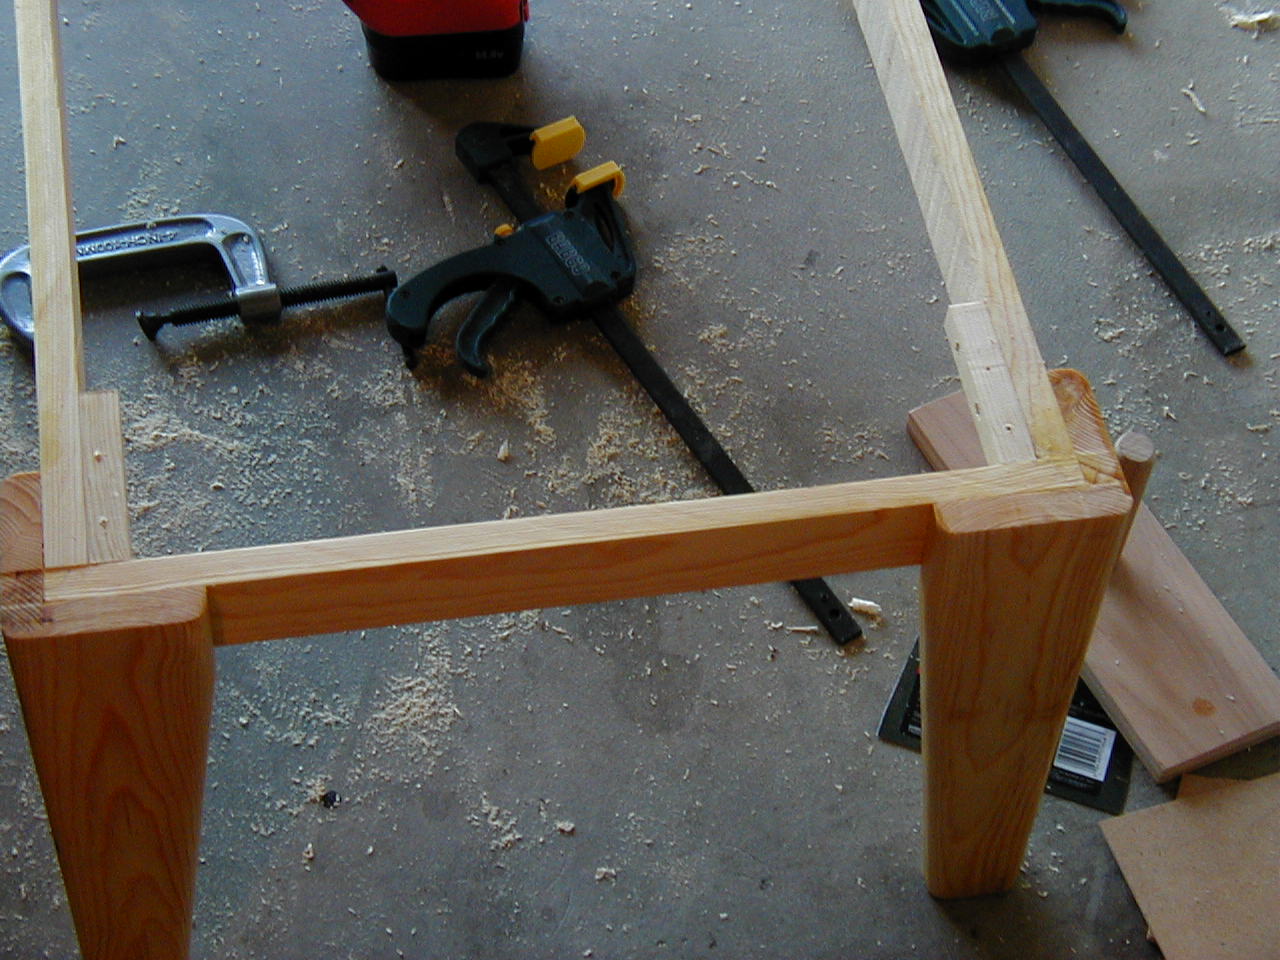
To cut the angle out the the legs, I measured 2 inches from the top and marked a line across. Then I marked another line 2 inches from the side at the bottom. Drawing a line from the side at 2 inches from the top, to 2 inches in from the side on the bottom, created the angle for the legs. I then made a little spacer out of a scrap of wood so that I could push the legs straight through the fence to create the legs. It wasn't so important that the line was cut exactly, just that all the legs were cut the same. So even though the spacer didn't cut at exactly where I placed the line, it was close, and by using it for all the pieces all the legs were the same dimension.
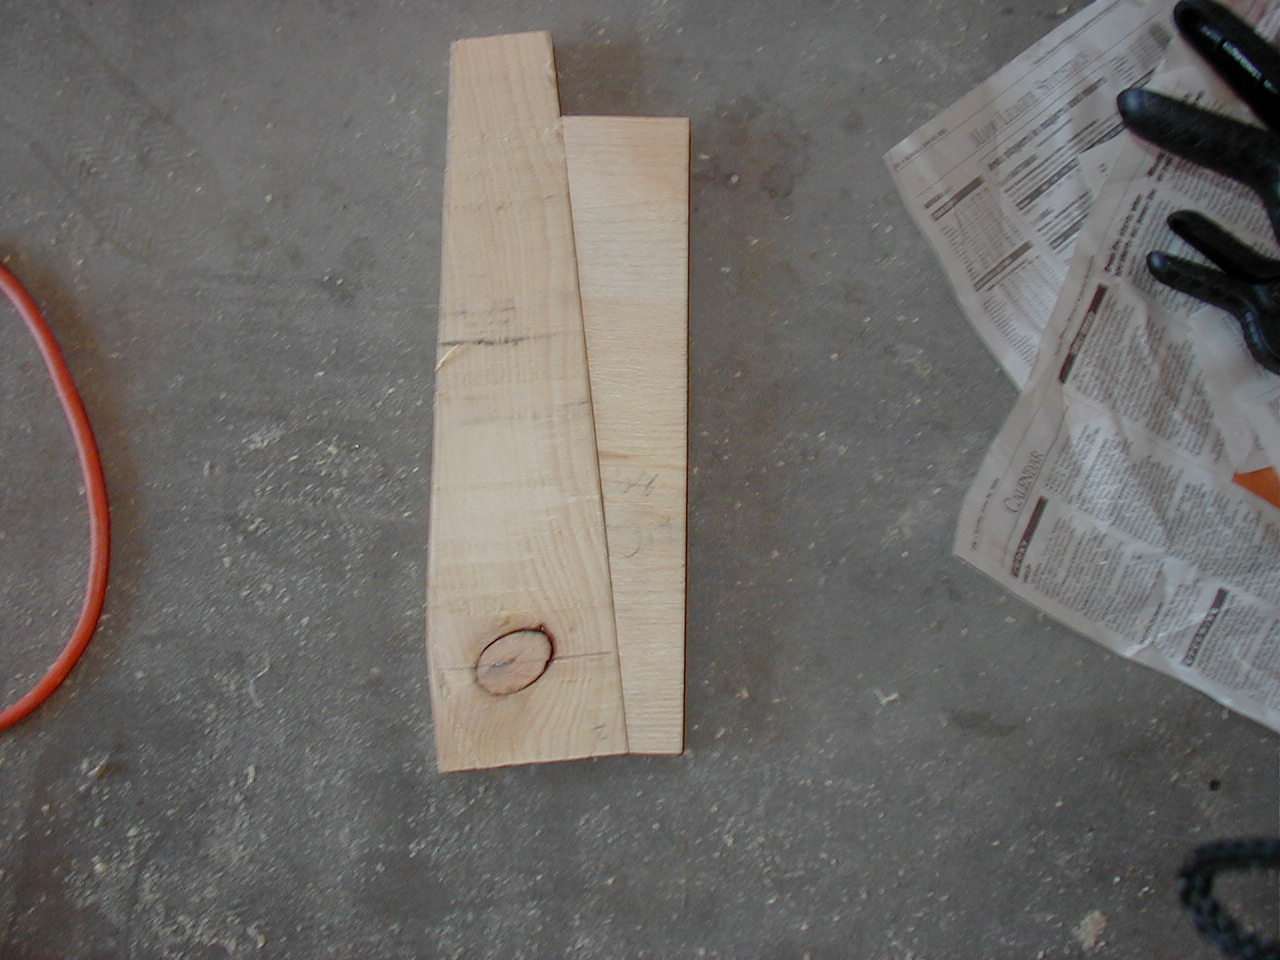
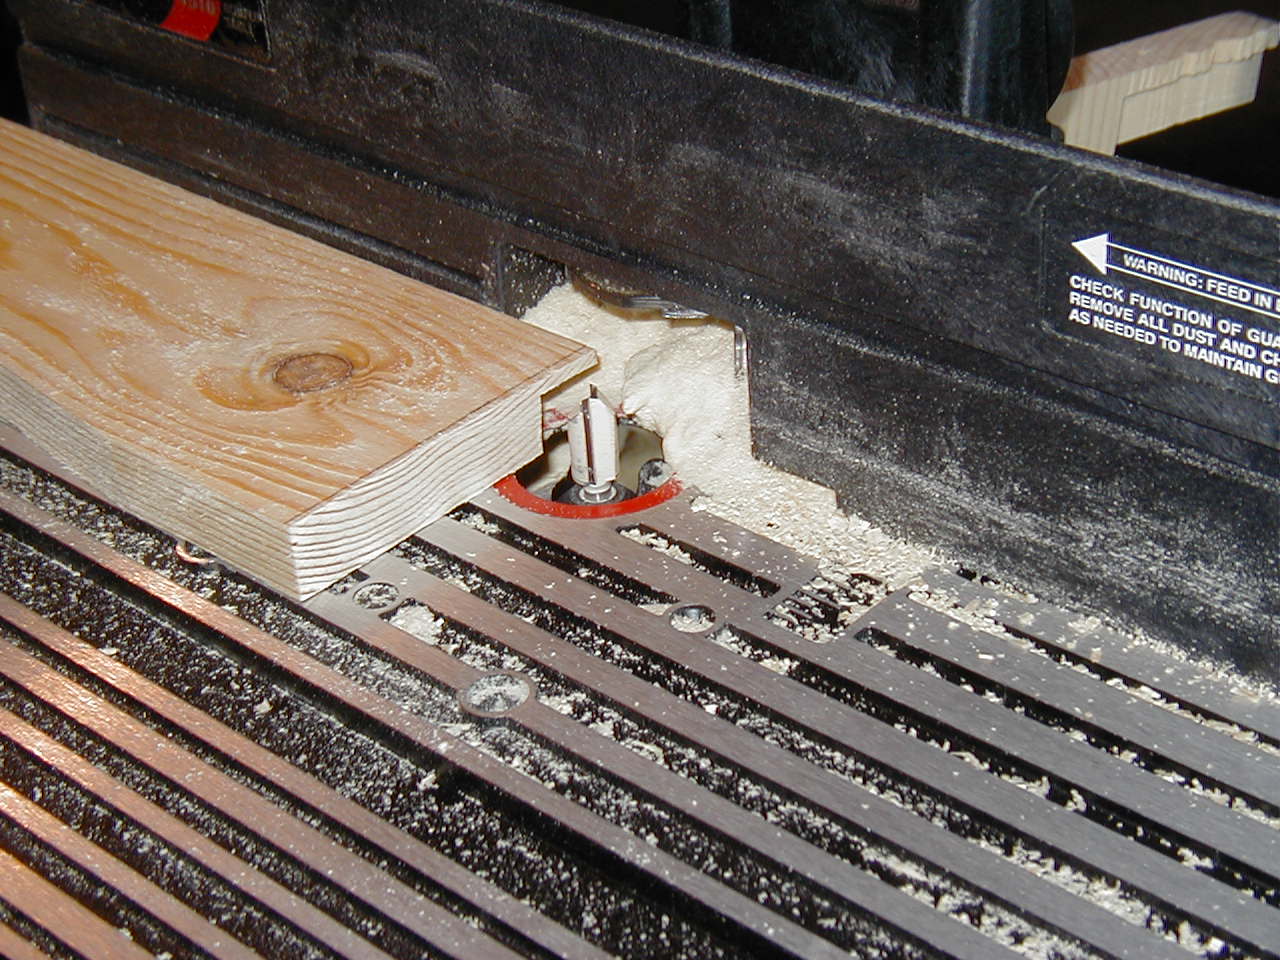
After this I used my router table to cut a rabbet in the sides of one of each of the leg boards. This made a better joint than using a butt joint, and also made the widths of the legs in each direction about the same. Also, this allowed me to use a roundover bit on the corner to make the seam mostly invisible. I did this because my attempts at making a miter cut that long all failed pretty spectacularly, and I figured it was best to not even waste my time when this was so much easier and also looked ok. Originally I wanted to glue-up 3 boards for each leg, but after some experimenting I found that my table saw didn't have the power to cut something that thick without burning it. So I was left with an L shaped leg and had to do my best to make it look decent.
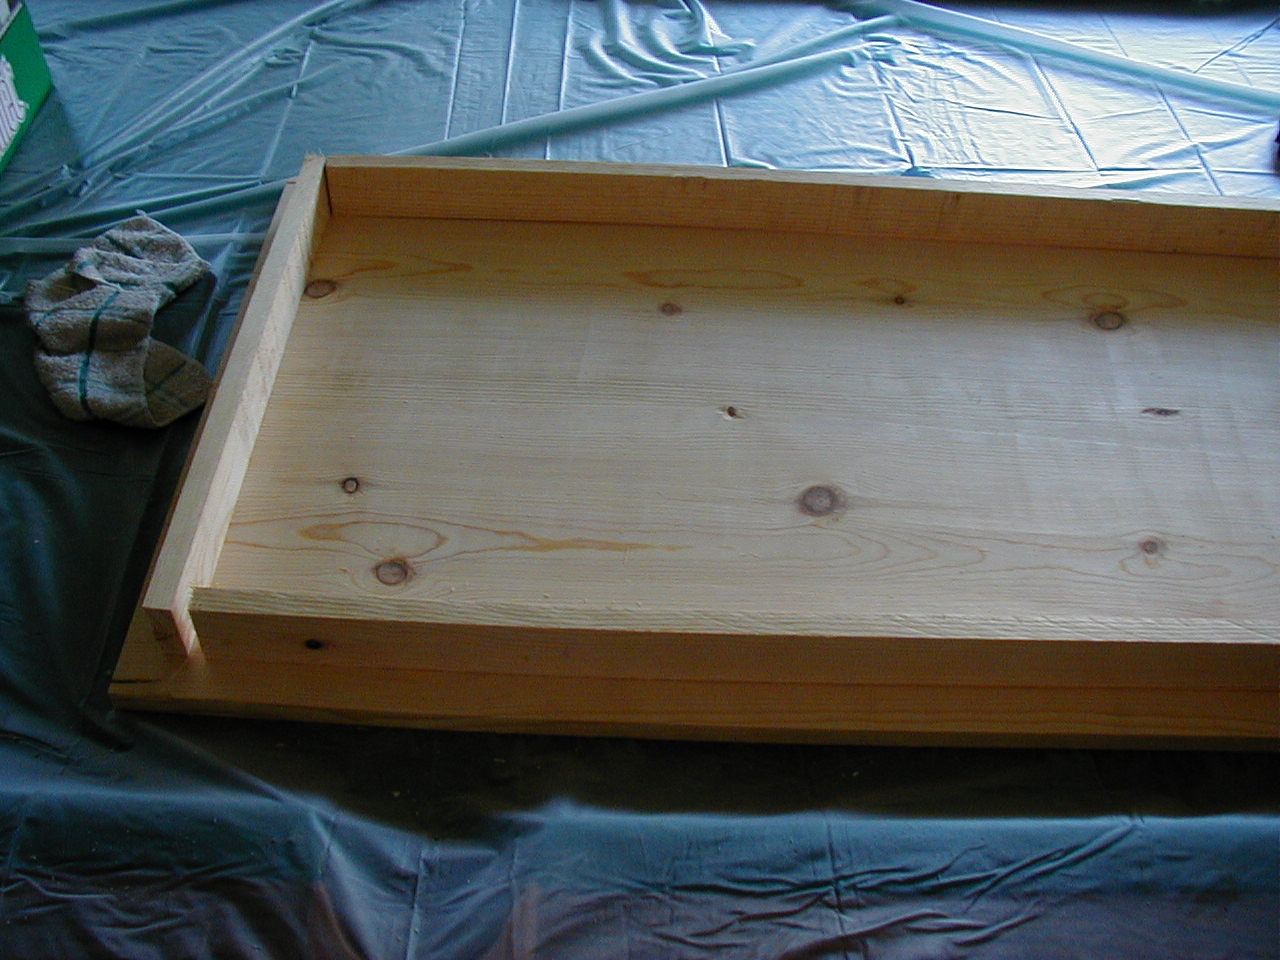
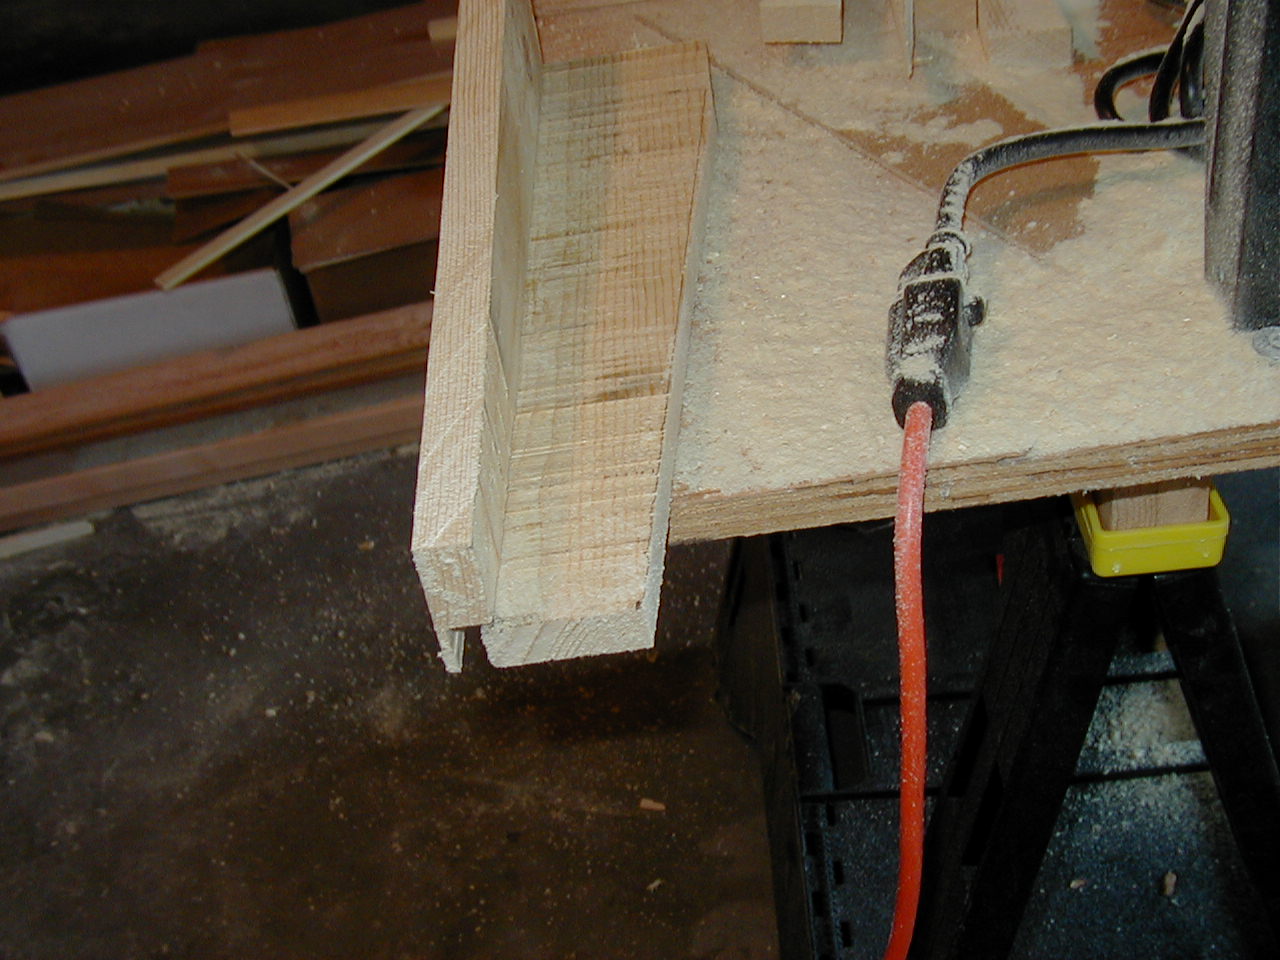
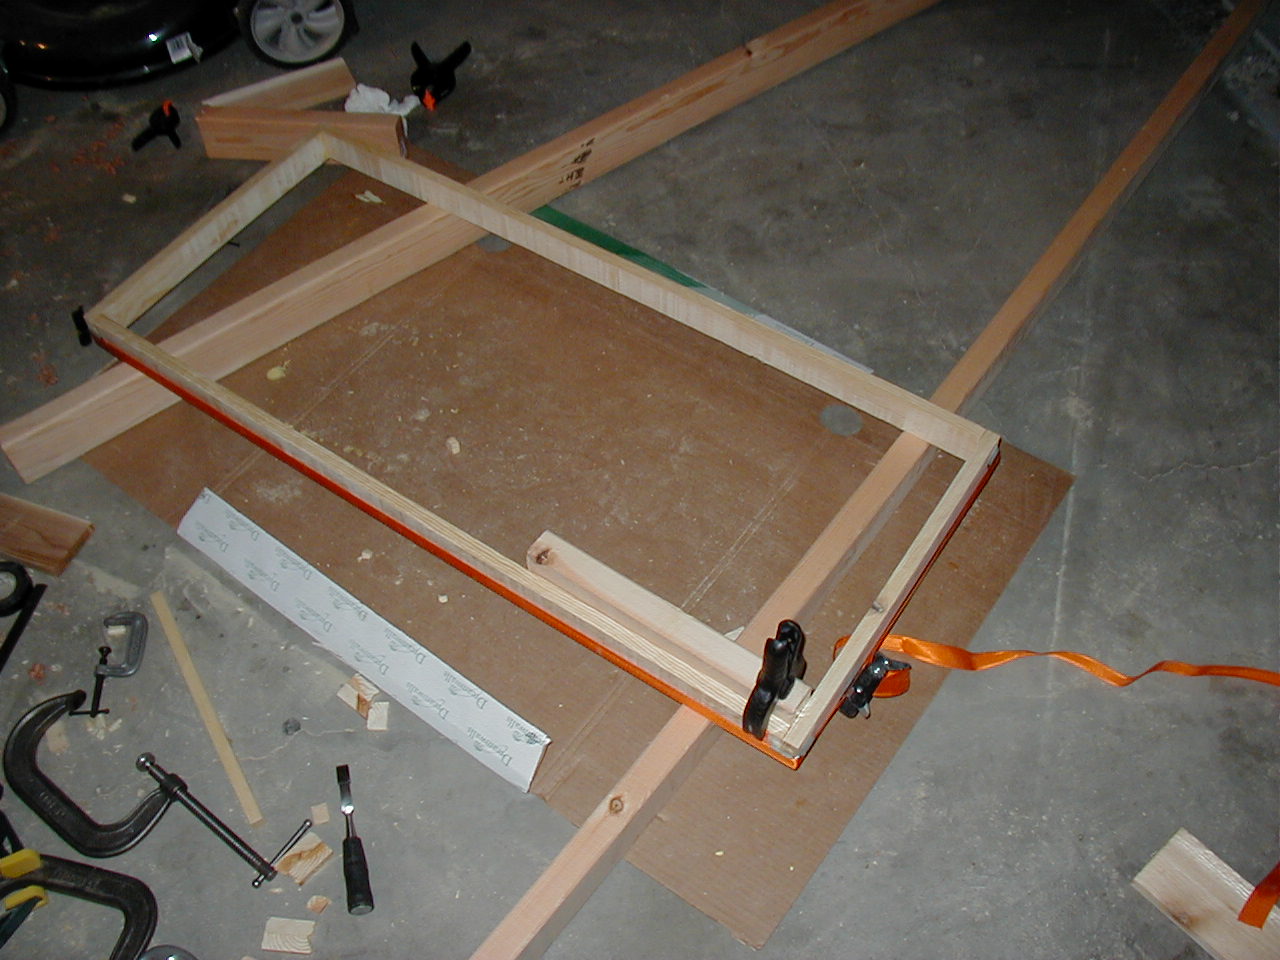
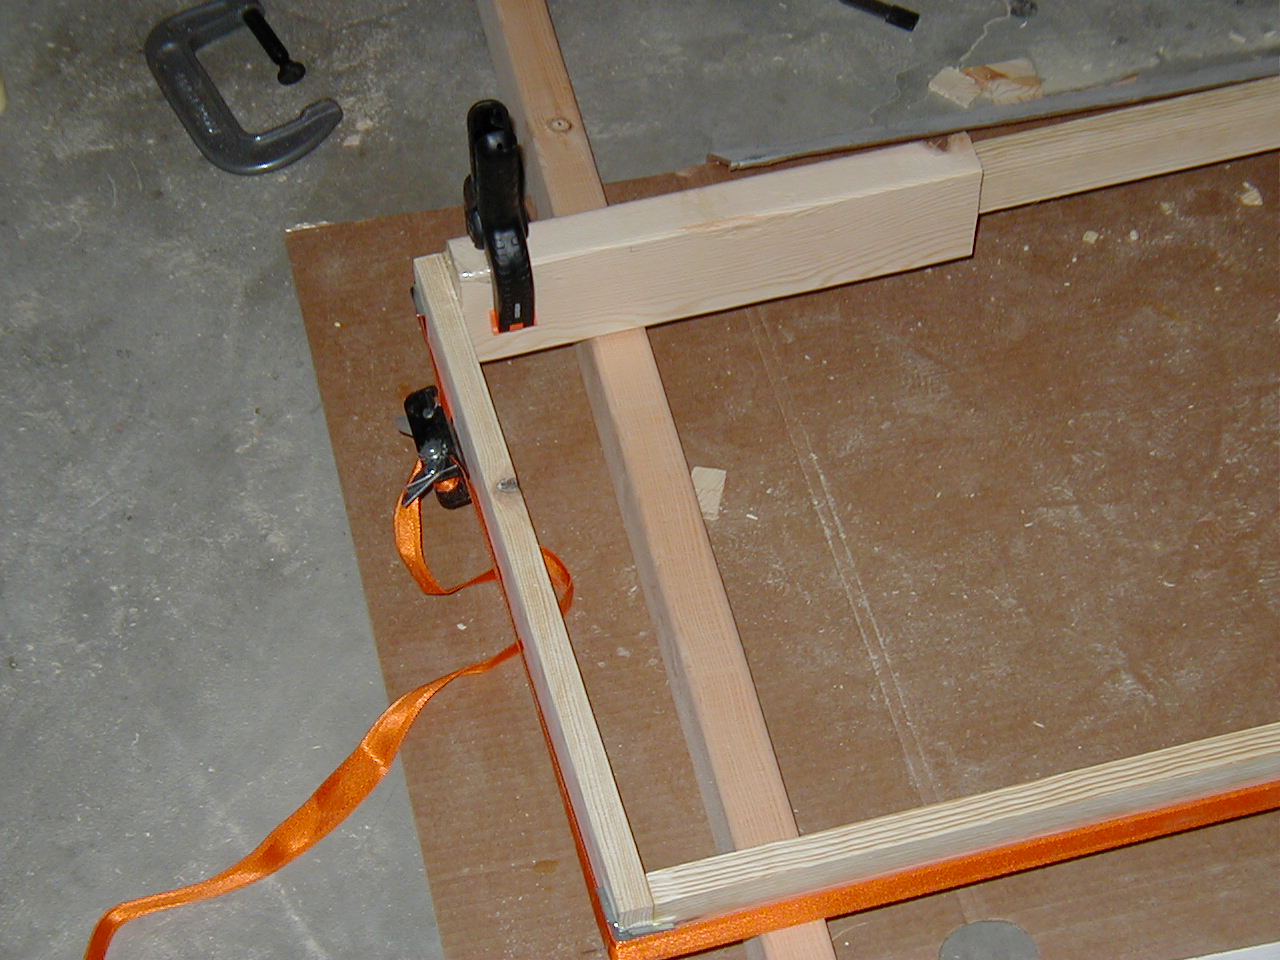
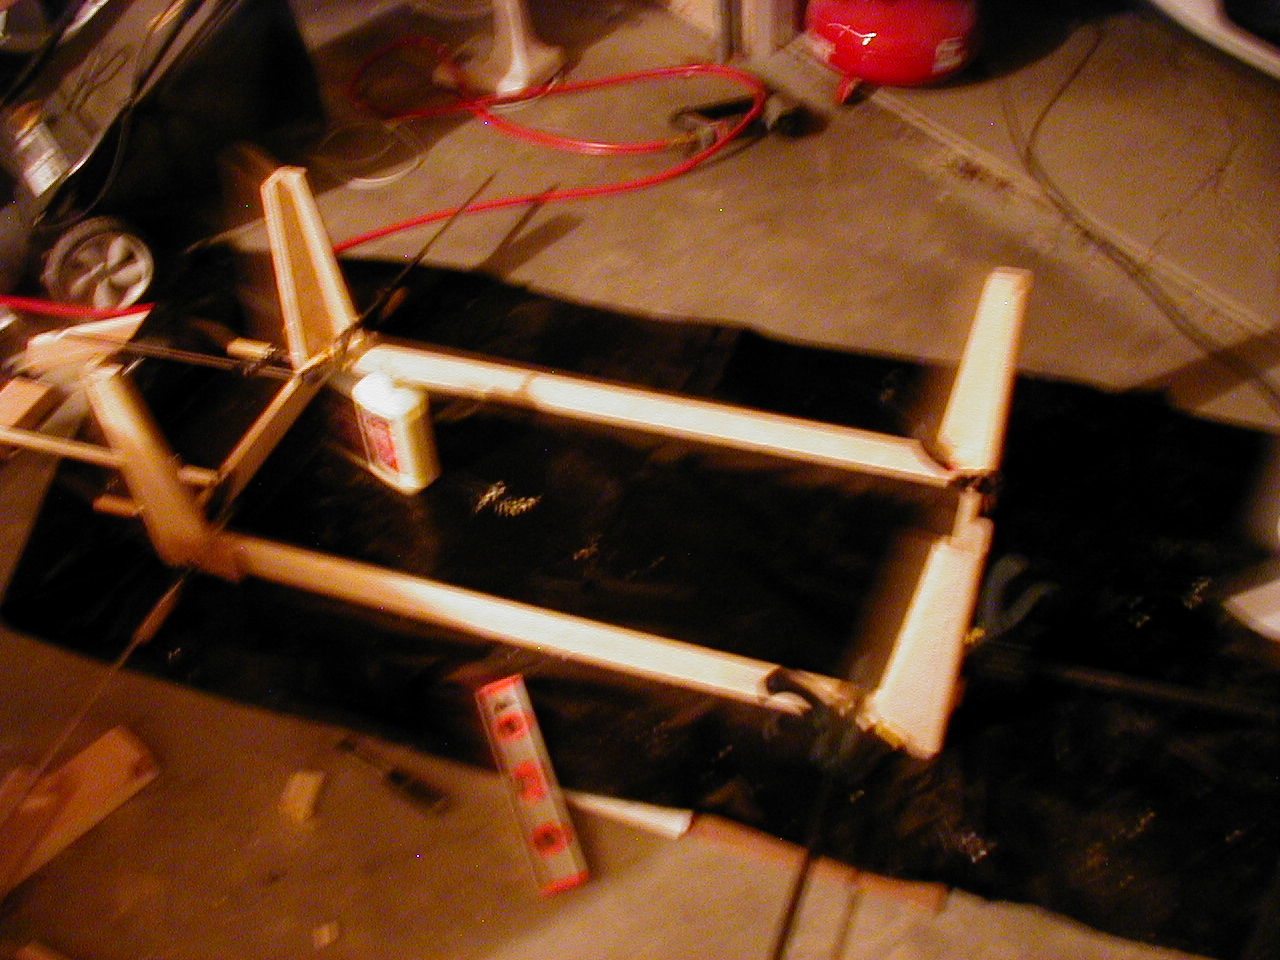
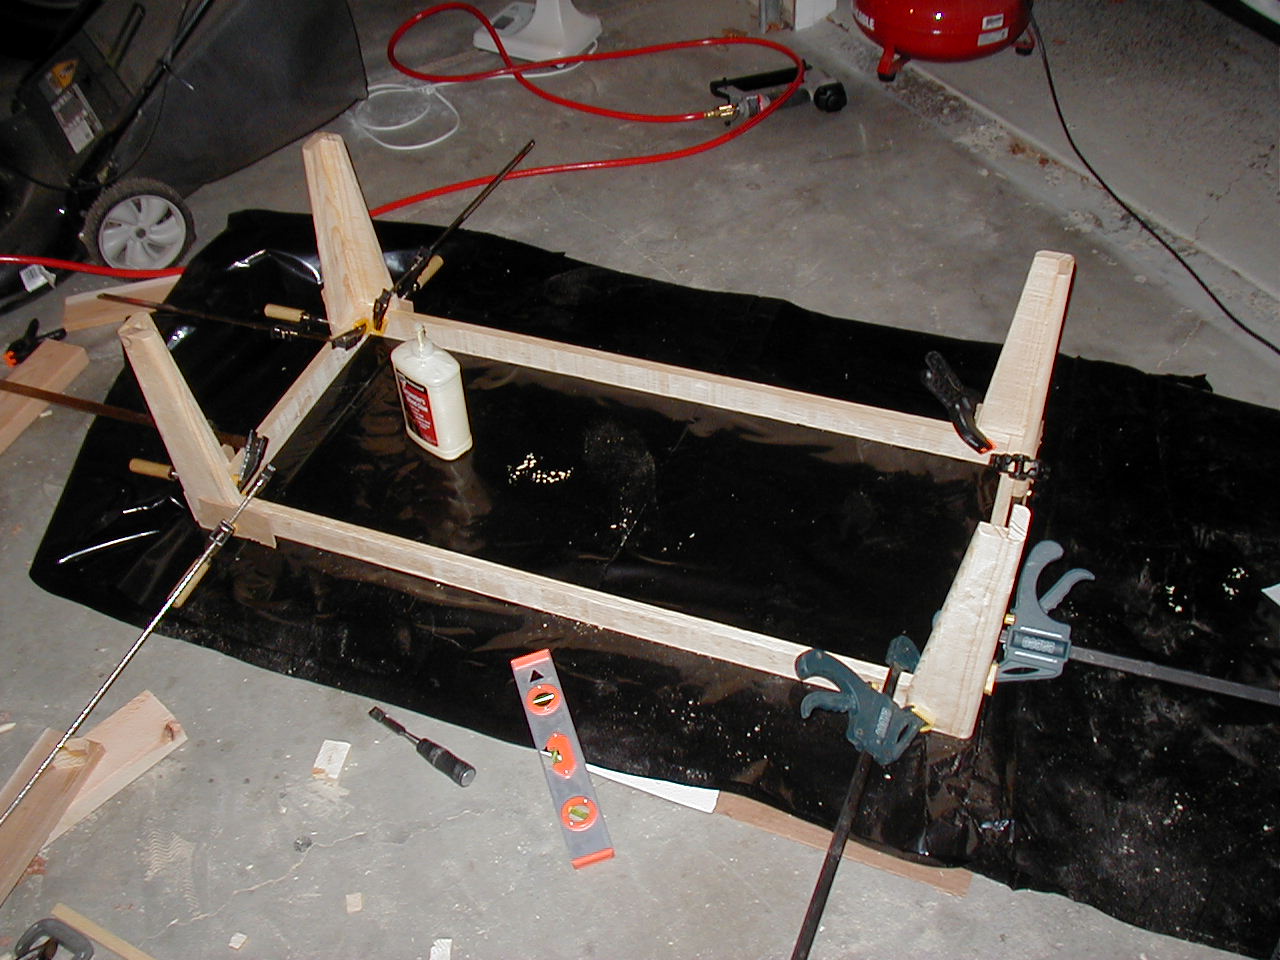
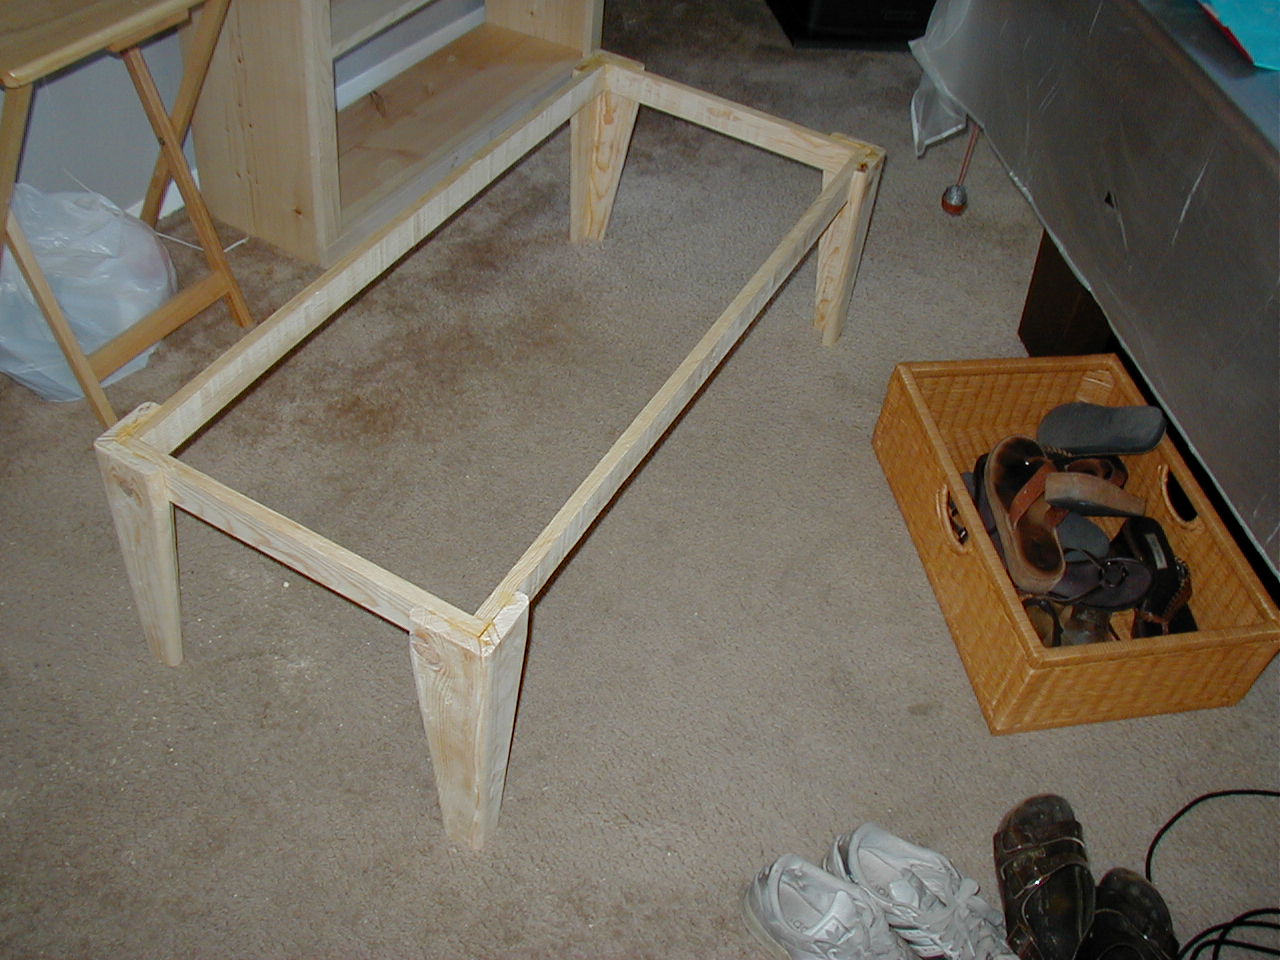
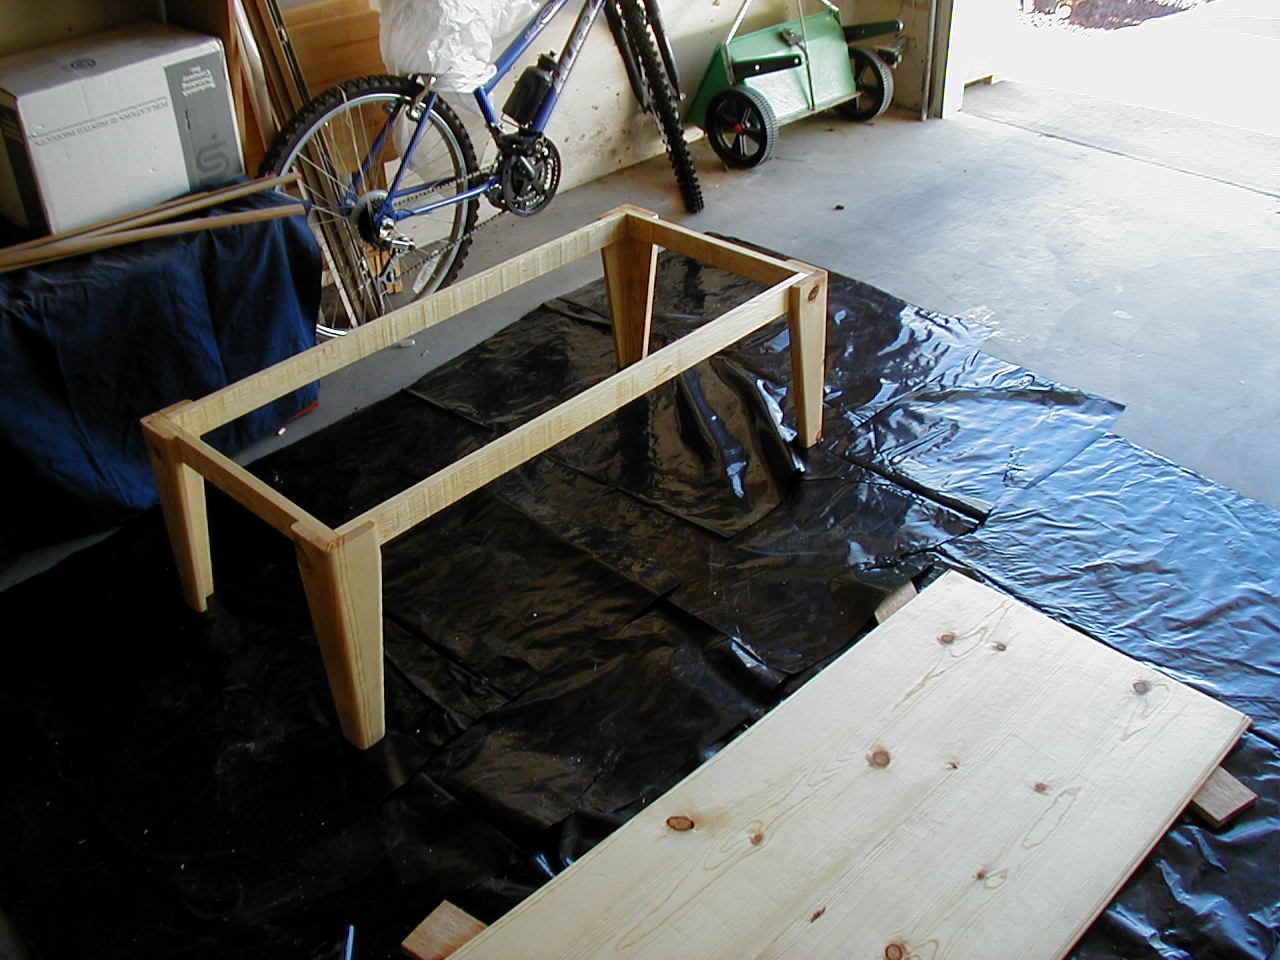
After the legs were assembled I then glued up the skirt area, using all butt joints. I also used a web clamp, and a 2x4 covered in tape in the corner to square it up while it dried. After that dried, I then glued the legs to each of the corners.
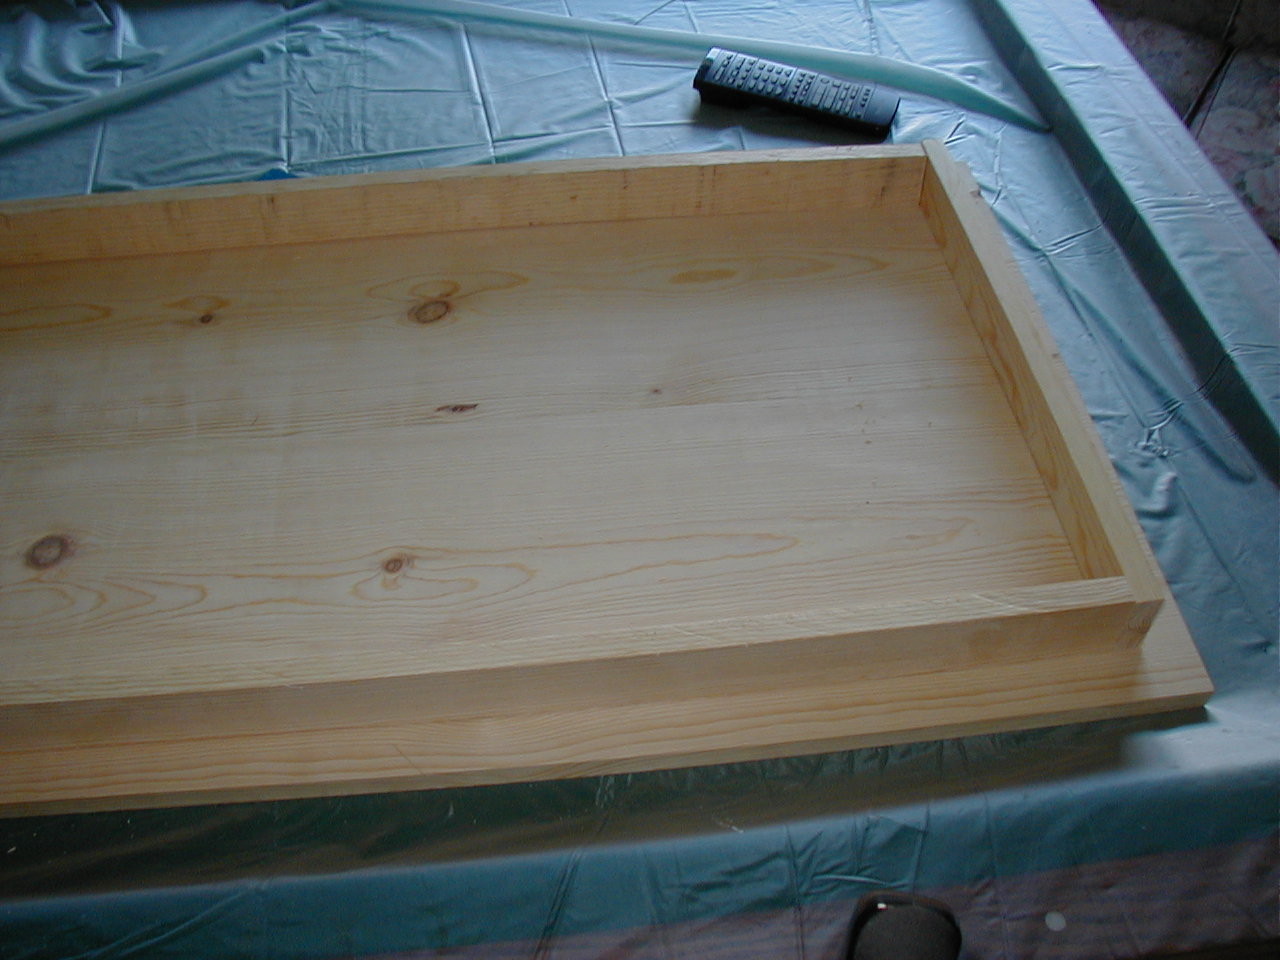
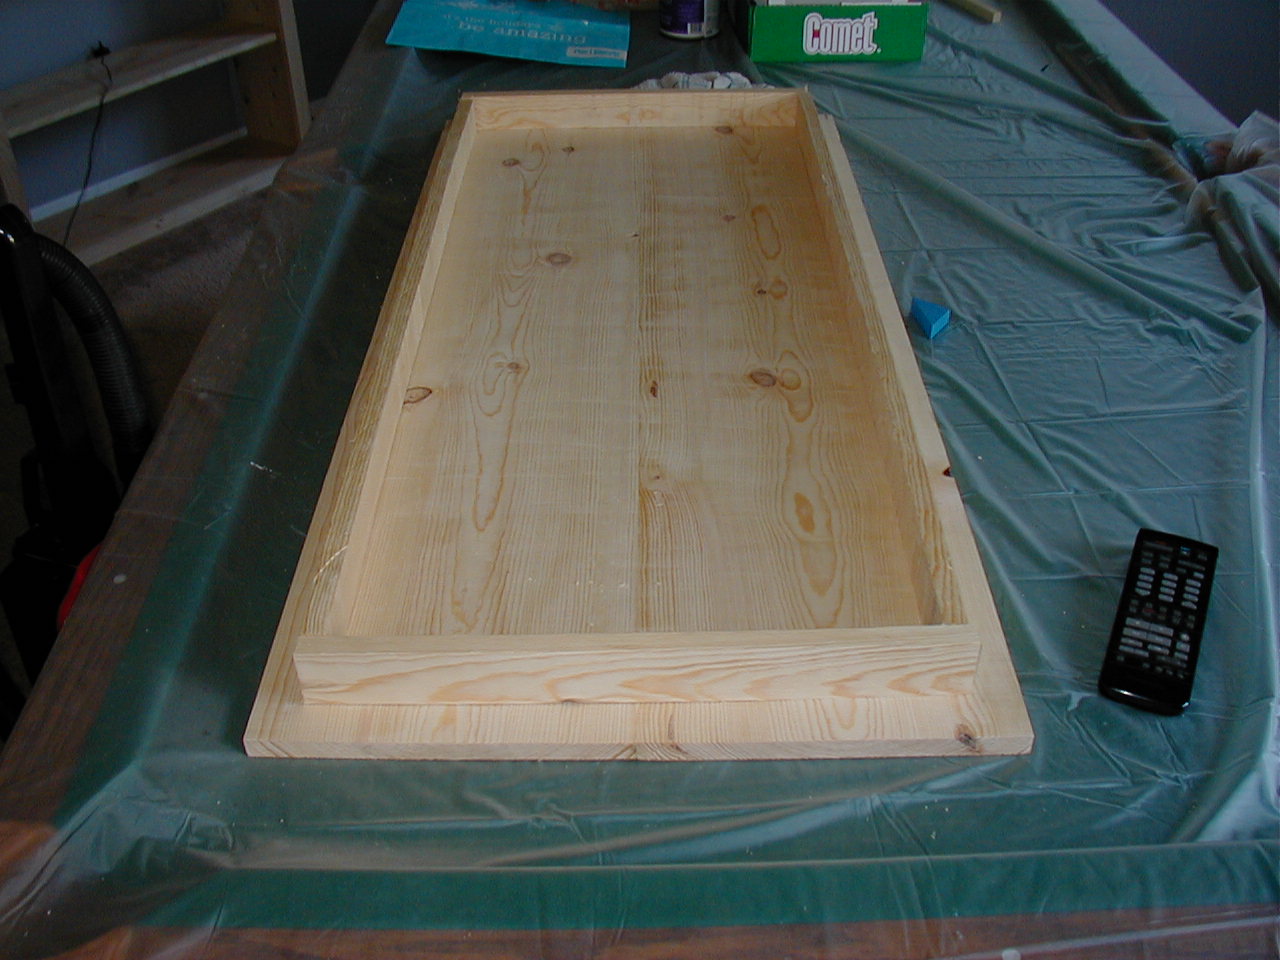
Now that the frame was all assembled, all that was left to do was sand everything, finish the top, and fasten it to the frame.
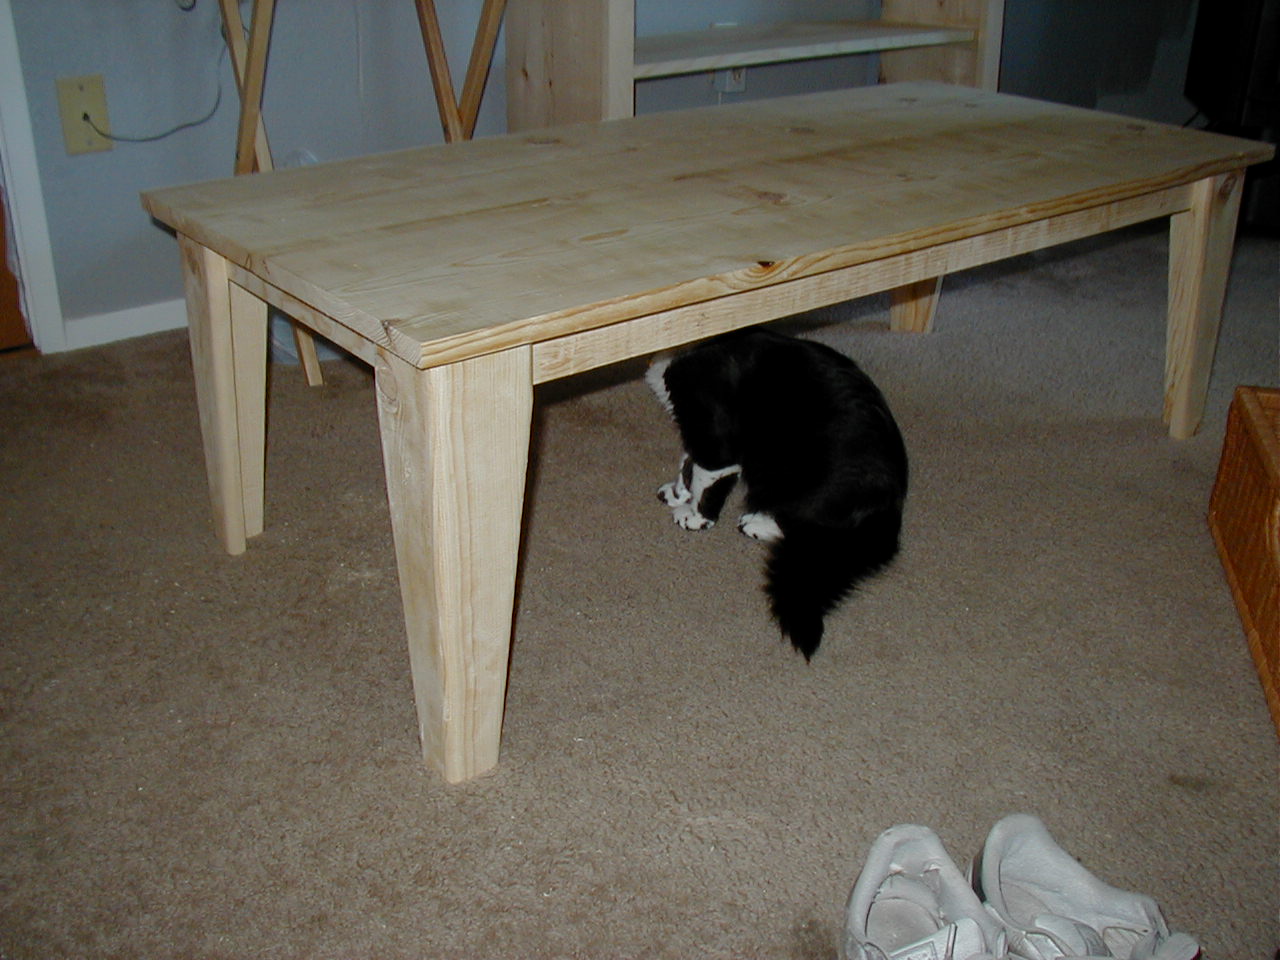
To finish the top, I routered the edge using a roman ogee bit. I had used a roundover bit on all the legs so I wanted something a little different on top, and my cheap router bit kit only had stright, roman ogee, and roundover bits. So I didn't have much choice at this point. Still it looked pretty good, or at least good enough for me.
I applied a natural stain finish, then polyurethane. I did 3 coats on the legs and 4 coats on the top. This made everything nice and shiny.
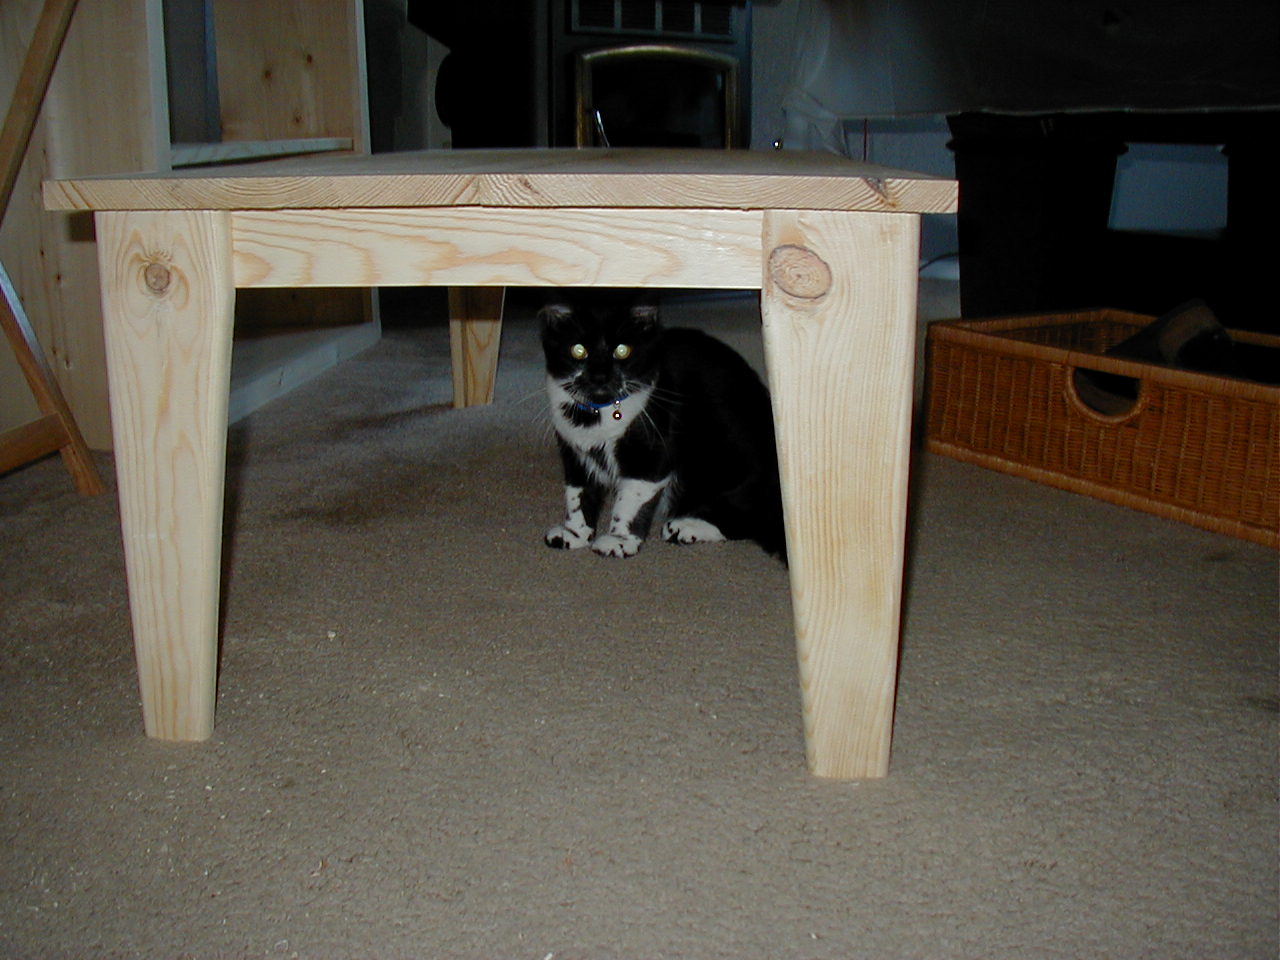
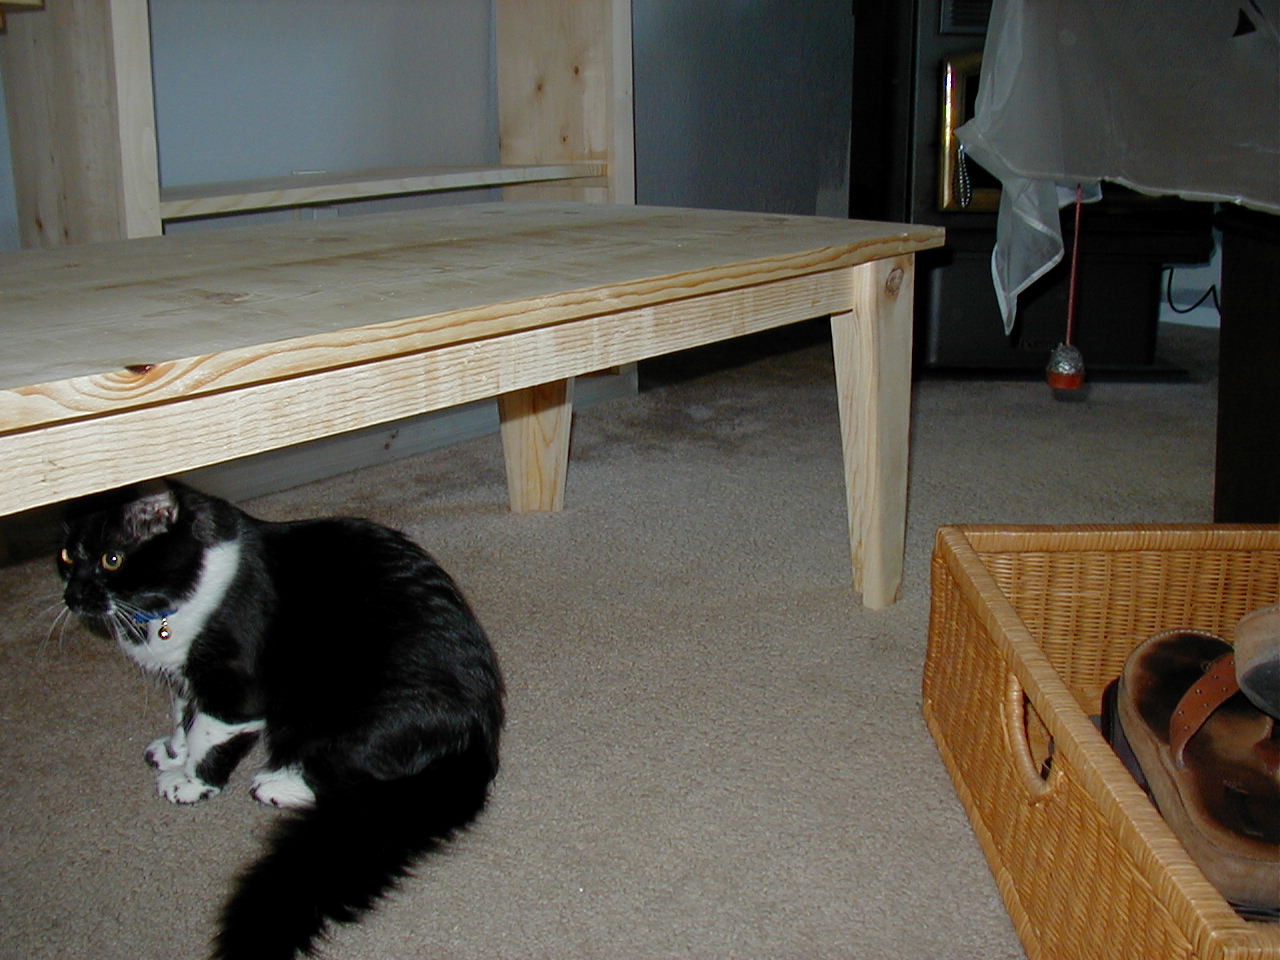
Now I just needed to attach the top to the frame. Originally I wanted to use the fasteners shaped like eights. After going to several stores and looking through the catalog where I worked, I learned this was not something that was easy to track down. So I broke down and decided to use 3/4x3/4x4 blocks that I drilled and screwed in to the sides and the bottom of the top. This fastened te top well, but I am afraid the movement of the wood will tear the table apart at some point in the future. When that happens I'll put a note here, so if you don't see a note yet, that means the table has been ok since the date listed in the project info.
Overall it was a fairly easy project and I learned a lot. Now it seems I've been tasked with making matching end tables... So more plans to come.
This was the first time I had to do any kind of panel glue-up. This turned out to be a very informative process, and even though it wasn't perfect I was ok with the results. However in the future I'd hope to do a better job.
- Check for squareness. Yeah I mentioned this before. But keep doing it, the skirt was not 100% square, even though it was close. I think it was off by about 1/8" along the long dimension.
- Get lots of clamps. And I mean a LOT. I only had enough clamps to glue up 1 leg at a time. This multiplied the glue-up time for the legs by 4, since I was unable to glue them at the same time. I had bought a clamp set from Lowes that included 2 24" bar clamps, 2 12" bar clamps, some C clamps, and a few spring clamps for $20 or so. A very good deal, especially considering most bar clamps are about $10 a piece. After this project was complete, I promptly went back to Lowes to buy another set. Turns out it was also their last set for my local store, so I don't know if they are going to carry it any more, the guy I talked to there didn't seem to think they would. But if you can find it, it's a great deal. Also I didn't have enough long clamps for the panel glue-up for the top. This left a small gap near the middle. Well not so much a gap as a line where the seam is, but you can't see through to the other side.
- Don't apply poly when it's windy. I figured since I was inside my garage the wind wouldn't be a problem. However I left the doors open for ventilation. Consequently, crap blew in to my garage and on to my tabletop. I did however get very good at sanding.
- And speaking of sanding, a belt sander can leave some deep tool marks. I used a small belt sander on the top to try and even out the level near the glue seam. I didn't realize how much it scratches the surface though until later when I was finishing sanding and noticed dust collecting in the grooves. They aren't noticable unless you look for them, but given the choice in the future I'd probable use a plane instead to clean up the top. Unfortunately I have a very small 6" block plane and that makes it a lot of work, hence the belt sander, though now I think I need to invest in a jack plane.
- Glueing takes a long time. Plan for glue-setting time. If you need to glue up a panel, do that first. While it sets up, cut some of the other parts. Then glue those up, and while they set up, plane your table top. The point is, you'll want to multitask or you'll be sitting around with nothing to do a lot of times. You definately don't want to make a bunch of cuts then glue it all at the same time. Unless you have a bajillion clamps of course, in which case you could actually pull that off. This took me about a week to complete, but a few of those days were me waiting for glue since I started late.
- When glueing, double-check that you have the face you want exposed. When glueing the skirt up I had some trouble so I was in a hurry. Later I noticed I had glued one of the faces with the non-planed side out, so that you could see the tool marks from when it was ripped from the log. I spent a lot of time sanding this area, but it never did get perfectly smooth. So double-check the faces of the wood are the ones you want to see before the glue sets!